

Table of Contents Toggle
- Install ComfyUI on Windows 11: Step-by-Step Guide
- Installing ComfyUI Manager
- Setting Up ComfyUI
- Troubleshooting and Further Guidance
- Key Takeaways
- Download ComfyUI Package
Setup ComfyUI Environment
- Configuring ComfyUI UI
- Install ComfyUI Manager
- Troubleshooting Installation Issues
- Launching ComfyUI
- Using ComfyUI for Image Generation
Install ComfyUI on Windows 11: Step-by-Step Guide
ComfyUI Installation
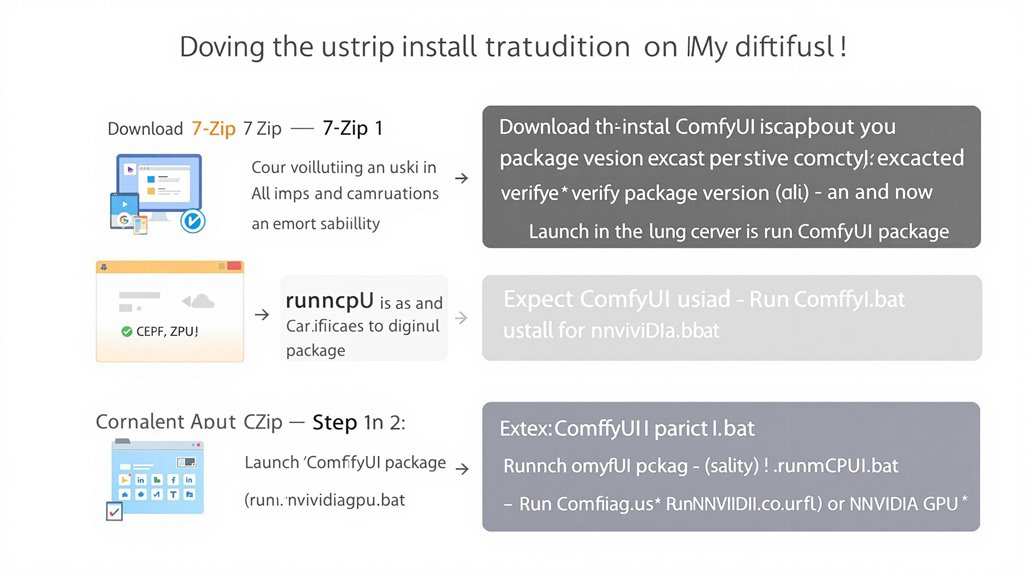
Download ComfyUI Package: Obtain the ComfyUI package from a reliable source, such as the official repository on Github.
Extract Files: Use 7-Zip to extract the downloaded package to a desired local directory. This will create a ‘ComfyUI_windows_portable’ folder that matches the ComfyUI File Directory structure.
Installing ComfyUI Manager
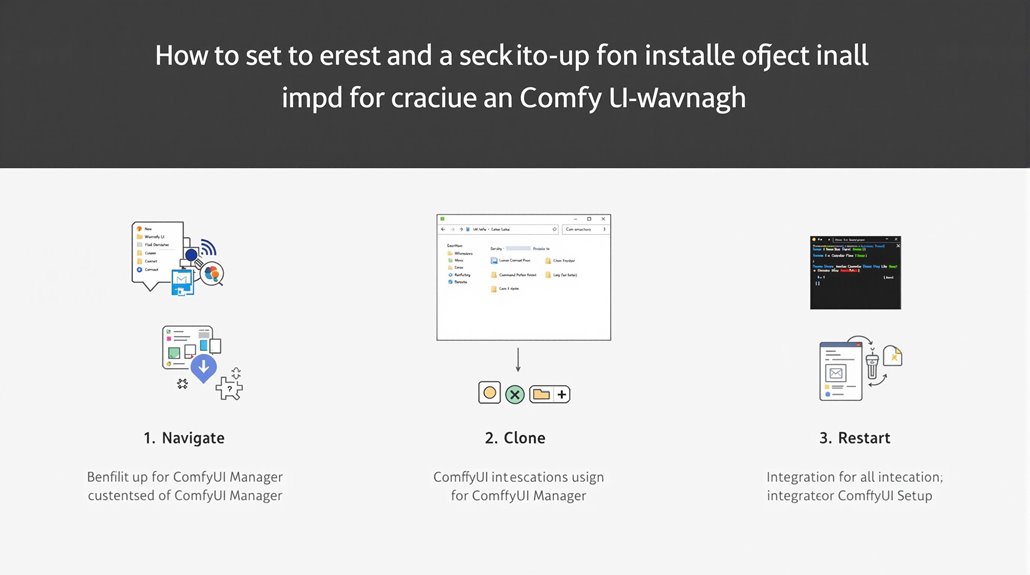
Navigate to Custom Nodes: Open Windows Explorer and go to the ComfyUI custom nodes folder.
Open Command Prompt: Type ‘cmd’ in the file path to open a Command Prompt within that specific folder.
Clone Manager Repository: Copy and paste ‘git clone https://github.com/ltdrdata/ComfyUI-Manager.git’ into the Command Prompt and press Enter to execute.
Restart ComfyUI: After cloning is complete, restart ComfyUI to integrate the Manager.
Setting Up ComfyUI
Download Model: Download a checkpoint model, such as from the Hugging Face repository.
Place Model in Correct Folder: Move the downloaded model to the ‘ComfyUI_windows_portable\ComfyUI\models\checkpoints’ folder.
Launch ComfyUI: Double-click on ‘run_nvidia_gpu.bat’ to start ComfyUI if you have an Nvidia GPU, or ‘run_cpu.bat’ for CPU-only usage.
Troubleshooting and Further Guidance
Check Model Placement: Ensure the model is correctly placed in the checkpoints folder.
GPU Requirements: For optimal performance, an Nvidia GPU is recommended.
Detailed Instructions: Refer to the official documentation for comprehensive setup instructions and troubleshooting tips.
Key Takeaways
Install Comfy UI on Windows 11
Key Takeaways
Download ComfyUI: Get ComfyUI package using a reliable link and extract it with 7-Zip.
Verify System Requirements: Ensure 4GB VRAM in GPU and 8GB system memory.
Launch ComfyUI: Choose appropriate batch file based on graphics card specifications.
Step-by-Step Guide
Download and Extract ComfyUI Package: Download ComfyUI using a reliable link and extract it with 7-Zip to a desired directory.
Verify System Requirements: Ensure the system has a GPU with at least 4GB VRAM and 8GB system memory.
Setup and Launch ComfyUI: Download necessary checkpoints, and double-click run_nvidia_gpu.bat for NVIDIA GPUs or run_cpu.bat for CPU-only setups to launch ComfyUI.
Troubleshoot Installation Issues: Check for correct extraction and setup, and consult official GitHub or troubleshooting guides if necessary.
Additional Notes
ComfyUI Manager Installation: Navigate to the ComfyUI folder, open a Command Prompt, and use ‘git clone https://github.com/ltdrdata/ComfyUI-Manager.git’ to clone the ComfyUI Manager repository.
Restart and Configure: Restart ComfyUI after installing the Manager to apply changes.
Download ComfyUI Package
ComfyUI Package Installation
Users need to unzip the downloaded package using unzipping software like 7-Zip. This creates a new folder named ‘ComfyUI_windows_portable’ that matches the ComfyUI File Directory structure.
Correct Extraction and Setup
Guarantee correct extraction and setup for a smooth installation process. Verify the package version and stability to ensure reliable performance. It is crucial to update Comfy UI to the latest version before installation to avoid potential issues latest version.
Key Extraction Steps
Download and install 7-Zip if not already installed.
Use 7-Zip to extract the ComfyUI package to a desired local directory.
Ensure the folder named ‘ComfyUI_windows_portable’ is created and matches the ComfyUI File Directory structure.
To proceed with the Comfy UI Manager installation, users must navigate to the Comfy UI custom nodes folder using Windows Explorer.
Troubleshooting and Launch
For any issues during extraction, check the package integrity and re-extract if necessary.
Once extracted, navigate to the ‘ComfyUI_windows_portable’ folder and choose either ‘run_cpu.bat’ or ‘run_nvidia_gpu.bat’ to start ComfyUI, depending on your system configuration.
Setup ComfyUI Environment
Setting Up ComfyUI Environment
To set up the ComfyUI environment, navigate to the ComfyUI custom nodes folder using Windows Explorer. Open a Command Prompt by typing “cmd” in the filepath and press Enter.
Cloning ComfyUI Manager
Copy and paste the command ‘git clone https://github.com/ltdrdata/ComfyUI-Manager.git’ into the Command Prompt and press Return to execute the command. This will clone the ComfyUI Manager repository.
Restarting ComfyUI
After installation, restart ComfyUI to ensure the Manager is integrated and ready for use. The Manager is essential for ComfyUI node management and provides users with a streamlined way to handle custom nodes.
ComfyUI Manager Benefits
The ComfyUI Manager is crucial for node customization, allowing users to install and manage custom nodes efficiently. This setup guarantees seamless exploration and installation of various nodes without multiple command prompts or scripts.
The ComfyUI Manager is essential for streamlining the process of managing custom nodes.
Key Steps Overview
Navigate to ComfyUI custom nodes folder.
Clone ComfyUI Manager using ‘git clone https://github.com/ltdrdata/ComfyUI-Manager.git’.
Restart ComfyUI to integrate the Manager.
It is important to note that ComfyUI requires a stable internet connection for downloading necessary checkpoints and ensuring smooth operation Internet Connection.
Configuring ComfyUI UI
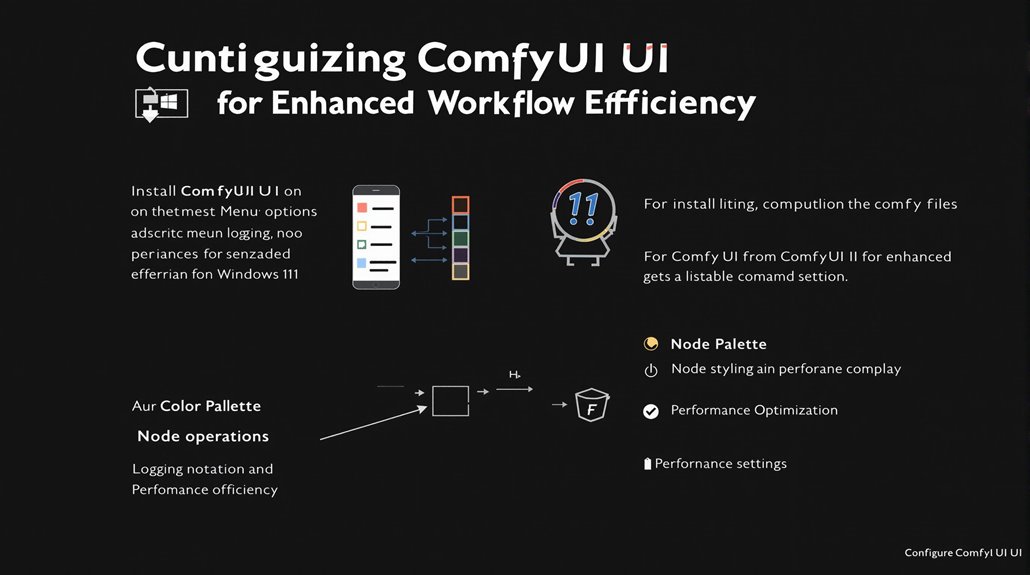
Configuring ComfyUI UI involves customizing various elements to improve workflow efficiency and user experience. Users can modify the color palette through JSON files, creating custom themes and adjusting existing ones.
ComfyUI offers default themes including dark, light, arc, solarized overexposure, nord, and GitHub repository style. The “comfy_base” setting controls base color settings such as foreground, background, and menu colors.
Menu options include dragging the menu panel to change its position and adjusting queue size for image generation tasks.
Logging and performance options can also be customized, such as viewing loading logs.
Node operations can be tailored, including choosing between straight, linear, hidden, and spline connection styles and using shortcuts like Ctrl+Up/Down to adjust prompt weights.
Customizing Themes: Users can download and modify JSON theme templates to create personalized themes. The JSON configuration includes settings for foreground color, background color, menu background, input box background, text colors, and border colors.
Theme Configuration Example:
JSON files used for theme customization include settings like “fg-color”, “bg-color”, “comfy-menu-bg”, and “input-text”. These settings control various color aspects of the ComfyUI interface.
Color Palette Options support custom settings and management of the ComfyUI interface theme through JSON files. This allows for detailed control over the visual appearance of the interface.
Performance Settings can be fine-tuned, including memory allocation and thread management, to optimize the application’s performance under load. Users can adjust memory limits and configure thread counts to balance speed and system resources. For optimal performance, it is recommended to have at least 8GB of system memory.
Additionally, ComfyUI provides extensive node color settings for different node types, enhancing the visual clarity of the workflow interface.
Install ComfyUI Manager
ComfyUI Manager Installation
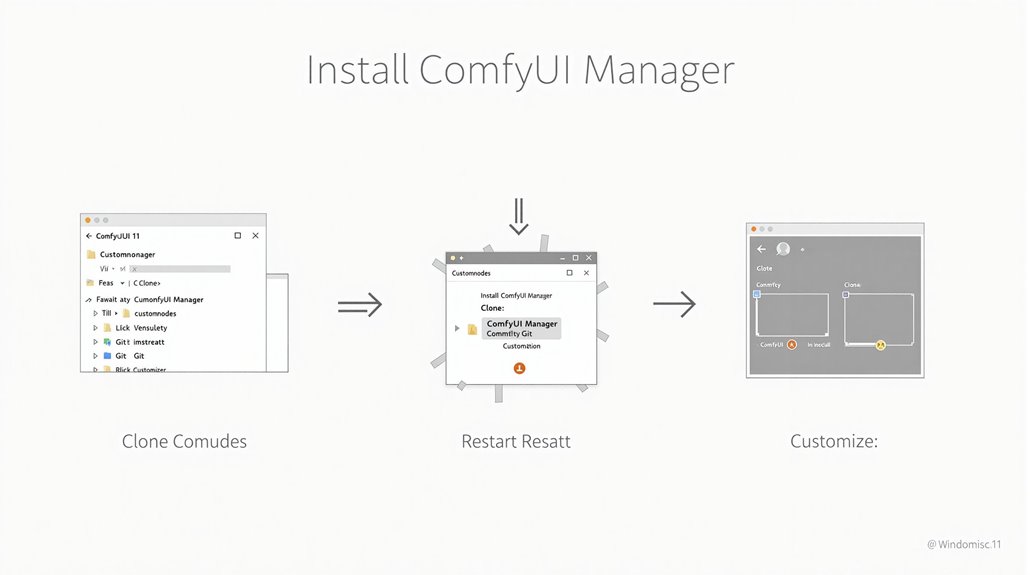
To install the ComfyUI Manager, navigate to the ‘custom_nodes’ folder within the ComfyUI directory using Windows Explorer. Type ‘cmd’ in the address bar to open a command prompt in that specific directory.
Verify that Git is installed on your system to clone the ComfyUI Manager repository.
Execute the command ‘git clone https://github.com/ltdrdata/ComfyUI-Manager.git’ to clone the repository. Allow the cloning process to complete before proceeding.
After cloning, close any open command prompts and restart ComfyUI. This finalizes the Manager installation, enabling access to various options for manager customization and plugin integration.
Troubleshooting
In case of issues, check for Git installation errors and verify that the Manager is cloned into the correct ‘custom_nodes’ directory.
Update ComfyUI if necessary to ensure compatibility with the Manager, and reinstall the Manager if issues persist.
The ComfyUI Manager provides Automatic Node Recognition and management of custom nodes, enhancing the functionality of ComfyUI.
It offers three installation methods, including physical directory cloning, ensuring flexibility for users.
Refer to official documentation for additional troubleshooting and requirements updates.
Installation Verification
Upon successful installation, the ComfyUI Manager should be accessible from the floating panel in ComfyUI.
If not, review the installation steps or consult the troubleshooting guide.
Troubleshooting Installation Issues
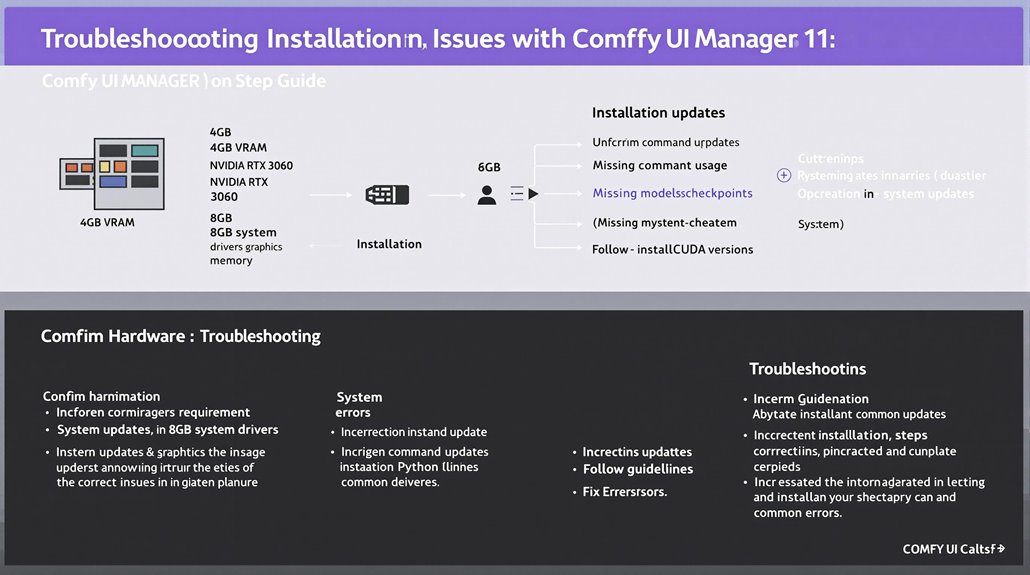
**Troubleshooting Installation Issues with **ComfyUI Manager
Hardware Compatibility
Confirm your system hardware meets the latest AI and GPU requirements for ComfyUI. This includes having at least 4GB VRAM in the GPU, preferably an NVIDIA RTX 3060 or higher, and at least 8GB of system memory. Microsoft has recently relaxed the hardware requirements for Windows 11, allowing systems without TPM 2.0 to upgrade, but users should be aware of potential compatibility issues.
System Updates
Ensure your Windows 11 system has the latest graphics drivers and meets minimum requirements. Although TPM 2.0 is not mandatory now, its absence may lead to system performance issues and update availability problems.
Installation Guidelines
Common installation errors include incorrect command prompt usage, running ComfyUI without necessary models or checkpoints, and incorrect Python and CUDA versions.
Download necessary checkpoints before running ComfyUI. For persistent issues, reinstalling from scratch may be necessary. Consult the official GitHub page for up-to-date installation instructions and troubleshooting guides. The installation process can be simplified by choosing between ComfyUI’s command line installation and package installation methods.
Addressing Installation Errors
Incorrect command prompt usage and missing models or checkpoints can cause installation errors.
Ensure you follow the correct installation steps and have the necessary models or checkpoints downloaded before running ComfyUI. If issues persist, restarting from scratch may be necessary.
Troubleshooting Steps
Confirm the system meets hardware requirements.
Verify that the system has the latest system updates and graphics drivers.
Follow specific installation guidelines.
Address common installation errors promptly.
Launching ComfyUI
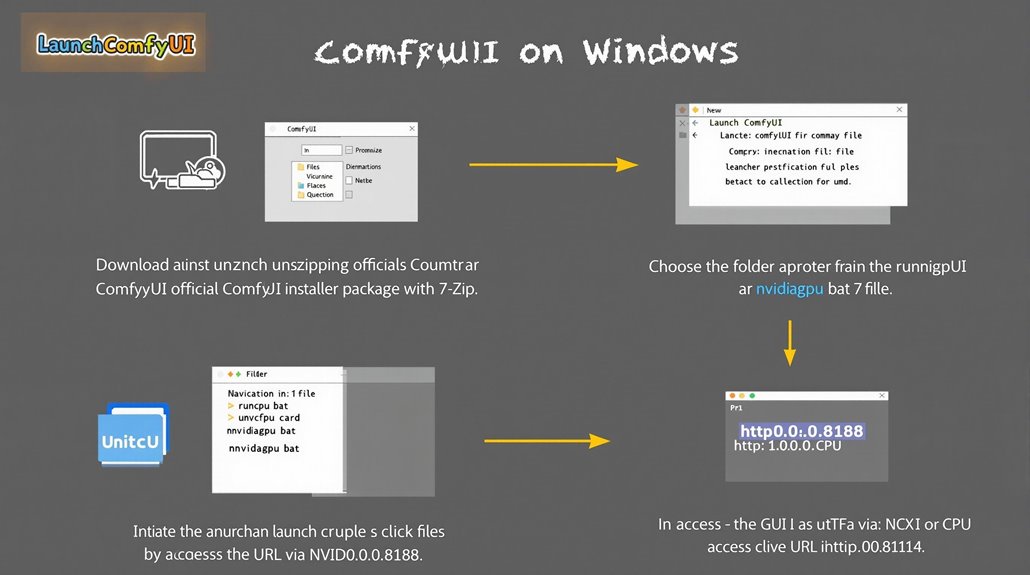
Launching ComfyUI on Windows 11
To launch ComfyUI, start by downloading and unzipping the official ComfyUI installer package using 7-Zip.
Navigate to the folder and identify the ‘run_cpu.bat’ and ‘run_nvidia_gpu.bat’ files.
Selecting the Batch File
Choose the appropriate batch file based on your computer’s graphics card specifications. NVIDIA graphics cards require ‘run_nvidia_gpu.bat’, while other graphics cards use ‘run_cpu.bat’.
Initiating the Launch Process
Double-click the selected batch file to initiate the ComfyUI launch process. Wait for the server to start, indicated by the “Starting server” message in the console.
Accessing the GUI
Note the provided URL (e.g., http://0.0.0.0:8188) to access the GUI. If the browser does not open automatically, manually enter the URL in a web browser to display the ComfyUI interface.
ComfyUI is also lightweight, which helps in reducing memory usage and enabling faster generations.
Troubleshooting
Pay attention to batch file troubleshooting, especially if errors such as the “Torch not compiled with CUDA enabled” error occur. Resolve these by ensuring the correct GPU configuration and updating drivers as necessary.
Successful Launch
It’s crucial to verify that the model checkpoints, such as stable diffusion 1.5, are correctly installed and accessible in the “models/checkpoints” directory before running ComfyUI.
Using ComfyUI for Image Generation
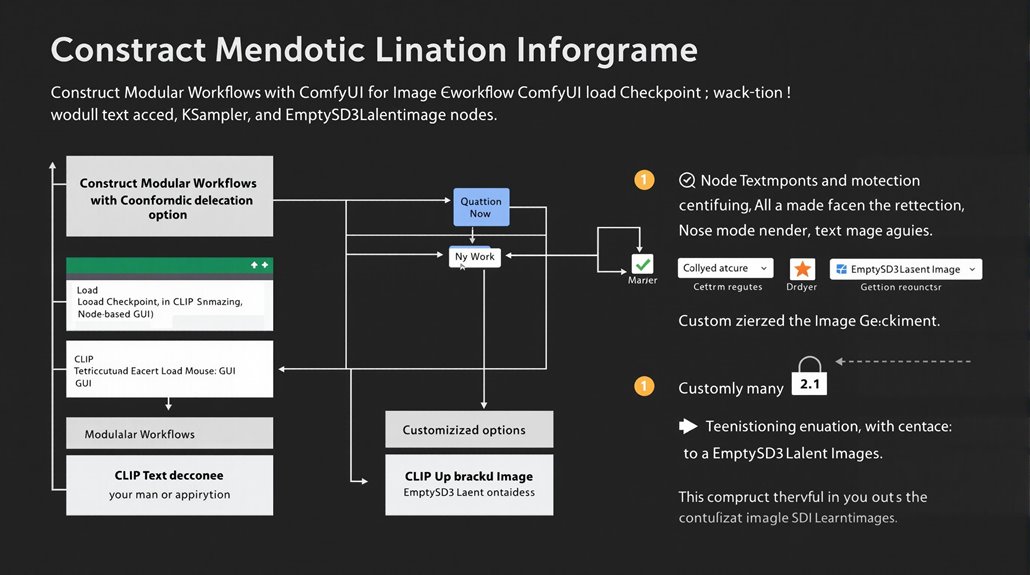
Using ComfyUI for Image Generation
ComfyUI is a node-based GUI for Stable Diffusion, enabling users to construct image generation workflows by linking different blocks (nodes) together. This modular workflow design provides flexibility and real-time feedback for fine-tuning image outputs.
Selecting a Checkpoint Model
Choose a Stable Diffusion Checkpoint model in the Load Checkpoint node.
This step is crucial for defining the image generation process.
Entering Text Prompts
Use CLIP Text Encode nodes for entering positive and negative text prompts.
These prompts guide the image generation process.
Controlling Key Parameters
Use the KSampler node to control parameters like steps and CFG scale.
Adjusting these parameters can significantly impact image quality.
Image Size Customization
Modify height and width settings in the EmptySD3LatentImage node to change image size.
This allows for precise control over image dimensions.
Advanced Image Customization
Experiment with different configurations and CLIP models for enhanced image customization.
Integrate tools like LoRAs and the Impact Pack to further refine image outputs.
Customizing Workflows
Use ComfyUI Manager to add custom modules and enhance workflow capabilities.
This feature allows for highly customized and efficient image generation processes. The transparent data flow in ComfyUI Node-Based Workflow makes it easier to understand and troubleshoot workflows.
Achieving High-Quality Images
Utilize ComfyUI’s flexibility and customization options to create high-quality images.
These tools make ComfyUI ideal for both professional artists and enthusiasts.
AI image generation automates content workflows, making it essential for applications like e-commerce and digital marketing where visual appeal and consistency are critical Automated AI Image Generation.
Key Features
Modular Workflow: Link different blocks (nodes) to create customizable workflows.
Real-Time Feedback: Adjust parameters and see immediate effects on image outputs.
Flexibility: Experiment with configurations and CLIP models for enhanced customization.
LoRAs and Impact Pack: Integrate these tools for refined image outputs.
ComfyUI Manager: Add custom modules to enhance workflow capabilities.