
Installing ComfyUI on Windows 10
System Requirements
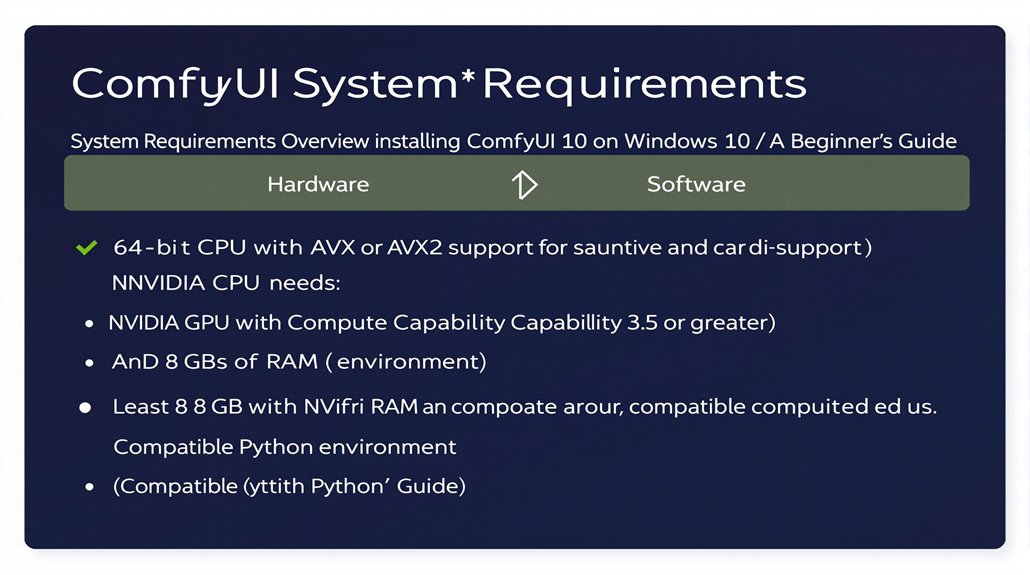
To install ComfyUI on Windows 10, your system needs to meet specific requirements. It must have a 64-bit CPU with AVX or AVX2 instruction set extensions and an NVIDIA GPU with at least 4GB of VRAM.
Downloading ComfyUI
Download the latest ComfyUI Windows portable package from the official repository.
Extracting the Package
Extract the downloaded package using a tool like 7-Zip.
Adding Checkpoint Model
Place a checkpoint model in the ‘ComfyUI\models\checkpoints’ folder.
Launching ComfyUI
Launch ComfyUI using ‘run_nvidia_gpu.bat’ if you have an NVIDIA GPU or ‘run_cpu.bat’ if you don’t. Configure the UI environment as needed.
Optimizing Performance
Understanding the configuration and customization options is essential to achieve peak performance and troubleshoot common issues. Familiarizing yourself with these settings will help you run ComfyUI efficiently.
Hardware Recommendations
For optimal performance, use a computer with a dedicated GPU, preferably an NVIDIA graphics card, and at least 8GB of system memory. Using an SSD for storage will also improve loading times.
Table of Contents Toggle
- Key Takeaways
- System Requirements Overview
- Downloading ComfyUI Files
- Installing ComfyUI Software
- Configuring the UI Environment
- Running ComfyUI Application
- Quick Start Guide Steps
- Troubleshooting Common Issues
- Optimizing Performance Settings
- Managing Custom Nodes
- Generating Images With Comfyui
Key Takeaways
ComfyUI Installation on Windows
Key Takeaways:
Download the latest ComfyUI package from the official repository and extract it with 7-Zip.
Ensure the system meets ComfyUI requirements: NVIDIA GPU and at least 8 GB of RAM.
Place checkpoint models in the ‘ComfyUI\models\checkpoints’ folder for use in ComfyUI.
Steps to Install ComfyUI:
Download the latest ComfyUI Windows package and unpack it with a decompression tool like 7-Zip.
System must have a 64-bit CPU, NVIDIA GPU with Compute Capability 3.5 or greater, and at least 8 GB of RAM.
Place necessary checkpoint models in the ‘ComfyUI\models\checkpoints’ folder.
Use ‘run_nvidia_gpu.bat’ for NVIDIA GPU support or ‘run_cpu.bat’ for CPU-only operation to launch ComfyUI.
Access the UI in a web browser at the provided URL after running the batch file.
System Requirements Overview
System Requirements for PyTorch Installation
For PyTorch to work efficiently, specific hardware and software requirements must be met. A 64-bit CPU with support for AVX or AVX2 instruction set extensions is necessary. Most modern processors meet these criteria, but it is crucial to verify your processor’s specifications to ensure compatibility.
GPU Support
If you intend to utilize GPU acceleration, an NVIDIA GPU with Compute Capability 3.5 or greater is required. For AMD GPUs, ROCm support is needed. Older generations of NVIDIA GPUs may function but offer inferior performance due to a lack of native support for certain operations.
Additional Considerations
More VRAM is always preferable for better performance, ensuring the system can handle high-performance tasks efficiently. A Python environment and dependencies like PyTorch are also necessary. ComfyUI integrates with local hardware to provide efficient AI image generation, leveraging the power of Stable Diffusion to produce detailed and realistic images.
Setup and Troubleshooting
A detailed setup guide and troubleshooting resources are available to ensure a smooth installation and configuration process. This includes verifying system compatibility, setting up virtual environments, and checking for stable network connections to avoid common installation issues.
System Performance
At least 8 GB of RAM is recommended to handle PyTorch tasks smoothly.
Downloading ComfyUI Files
Downloading ComfyUI Files
To install ComfyUI, visit the official ComfyUI website or its GitHub repository to find the latest stable version. This ensures you have the latest updates and features.
**Step 1: **Download ComfyUI Windows Package
Download the latest ComfyUI Windows portable package from the official repository.
Use a decompression tool like 7-Zip to uncompress the zip file and extract it to a preferred location on your computer.
**Step 2: Download **Checkpoint Model
Download the necessary checkpoint model and place it in the appropriate folder within the ComfyUI directory, typically ‘ComfyUI_windows_portable\ComfyUI\models\checkpoints’.
Alternative Option
Consider the Comflowy Local Version for secondary development and usage. This open-source alternative is optimized and flexible for AI image generation workflows. Command line installation offers universal compatibility and tends to have fewer issues compared to other methods.
Refer to the official documentation and community forums for installation issues and troubleshooting. The ComfyUI official website provides comprehensive guides and FAQs for new usersofficial resources.
Installing ComfyUI Software
When installing ComfyUI, user feedback and community support can be crucial resources for troubleshooting common issues. These resources help address any complications that arise during installation.
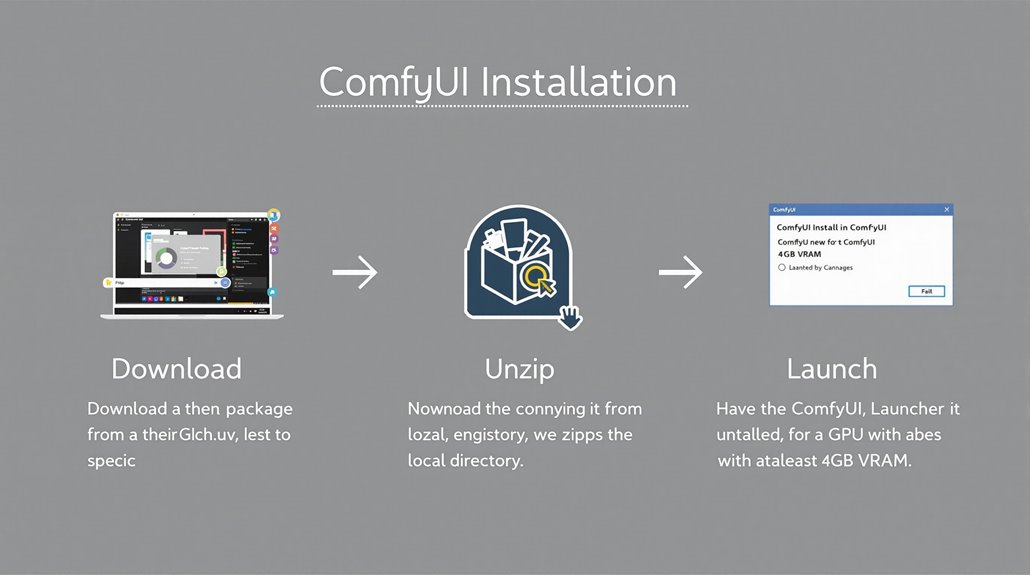
ComfyUI installation can be done using the official installer package available on the ComfyUI GitHub repository. The process involves downloading the package, unzipping it to a local directory, and then launching the Aaaki ComfyUI Launcher from the unzipped folder.
To begin, users should navigate to the ComfyUI GitHub repository and download the latest version of ComfyUI, such as version 0.2.2, which can be found in the releases tab. It is essential to meet the specific hardware requirements, including having a GPU with at least 4GB VRAM.
Successful installation of ComfyUI sets the stage for generating AI art images using the Stable Diffusion interface. Once installed, users can access various workflows for image generation, including text-to-image and image-to-image workflows.
For any issues during installation, users can refer to the installation guides on the ComfyUI wiki or seek help from the community forums. This ensures a smooth setup and quick resolution of any problems encountered during the installation process.
Users can also leverage online resources such as the ComfyUI wiki and GitHub issues for troubleshooting and resolving specific installation challenges.
Configuring the UI Environment

Configuring ComfyUI Environment
Configuring the ComfyUI environment is vital for enhancing functionality and user experience. Setting up a virtual environment helps prevent dependency conflicts with other installations. ComfyUI’s node-based structure provides flexible workflow creation.
Run ‘python -m venv venv’ to create a virtual environment, and then activate it using ‘venv\Scripts\Activate.ps1’ on Windows. This ensures all dependencies are isolated and managed properly.
Dependency Management
Install dependencies using ‘pip install’ with the requirements.txt file to guarantee all necessary packages are properly installed.
Creating a batch file to activate the virtual environment and start ComfyUI simplifies the process. Include lines like ‘call venv\Scripts\activate.bat’ followed by ‘python main.py’ in the batch file.
Customizing UI Appearance
Customize the UI appearance through CSS styling, custom components, and CSS variables. These features allow for fine-tuning of UI elements, including layouts, colors, and component visibility. Custom components can be built using React hooks to manage state and lifecycle events effectively, offering extensive customization options.
This ensures a tailored user experience.
Setting Up ComfyUI
After setting up the environment and installing dependencies, restart ComfyUI to load new configurations and models. This step ensures that all custom nodes and workflows are properly integrated and ready for use.
Troubleshooting
If issues arise during setup, refer to the ComfyUI documentation and GitHub README for troubleshooting guides and community support.
Regularly updating dependencies and restarting ComfyUI can resolve most common issues.
Running ComfyUI Application
Running ComfyUI Application
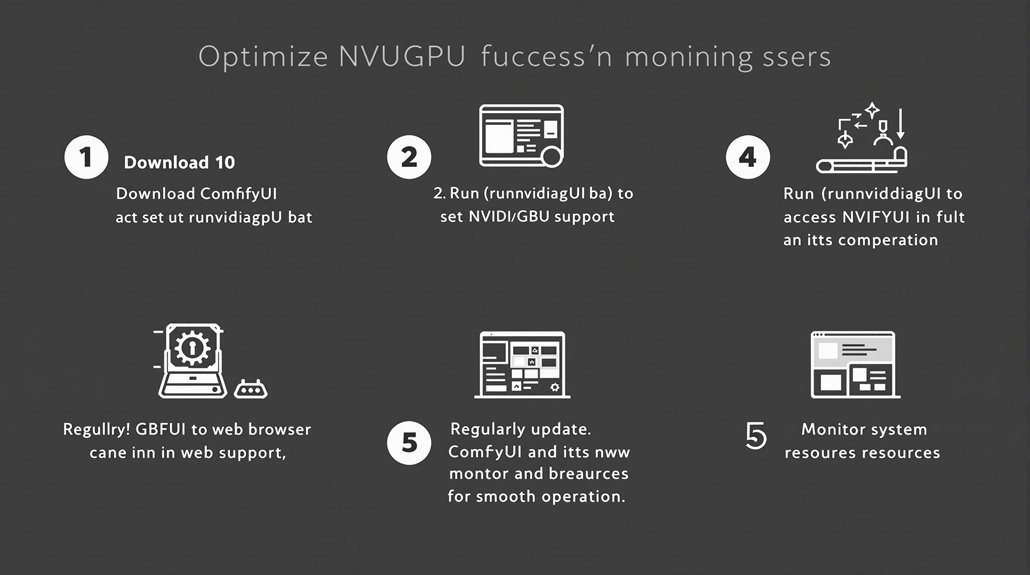
To launch ComfyUI successfully, users need to ensure their NVIDIA GPU environment is correctly configured. This involves running the ‘run_nvidia_gpu.bat’ file in the ComfyUI installation directory.
This file sets up the NVIDIA GPU support and opens the application in a web browser.
GPU Configuration and Updates
Proper GPU optimization requires configuring NVIDIA drivers to prevent fallback to system memory in low VRAM situations.
Regularly updating ComfyUI and its components is also crucial. The ComfyUI Manager should be installed and updated to manage custom nodes efficiently.
Troubleshooting Steps
In case of issues, running the ‘update_comfyUI.bat’ file can help update the application.
Users should also check for similar problems in other resource-intensive applications. Running Windows internal RAM tests and GPU benchmarks can help identify hardware-related issues.
System Resource Monitoring
Monitoring system resources and checking ComfyUI logs for error messages can help identify and resolve problems promptly.
This includes checking CPU, GPU, and memory usage to ensure smooth operation.
Environment Setup
Python 3.10.6 and necessary environment paths must be set for smooth operation.
Users should ensure that the NVIDIA GPU is properly recognized by the system to run ComfyUI efficiently.
Key Considerations
NVIDIA GPU Support: Ensure NVIDIA GPU is properly configured.
Regular Updates: Update ComfyUI and its components regularly.
Resource Monitoring: Monitor system resources for smooth operation.
Resource Management
To handle complex operations effectively, consider using tools like ComfyUI-FreeMemory, which provide advanced memory management capabilities to prevent out-of-memory errors and optimize resource usage during image generation workflows.
ComfyUI is a node-based graphical user interface that allows users to construct image generation workflows by chaining different blocks (nodes) together.
Quick Start Guide Steps
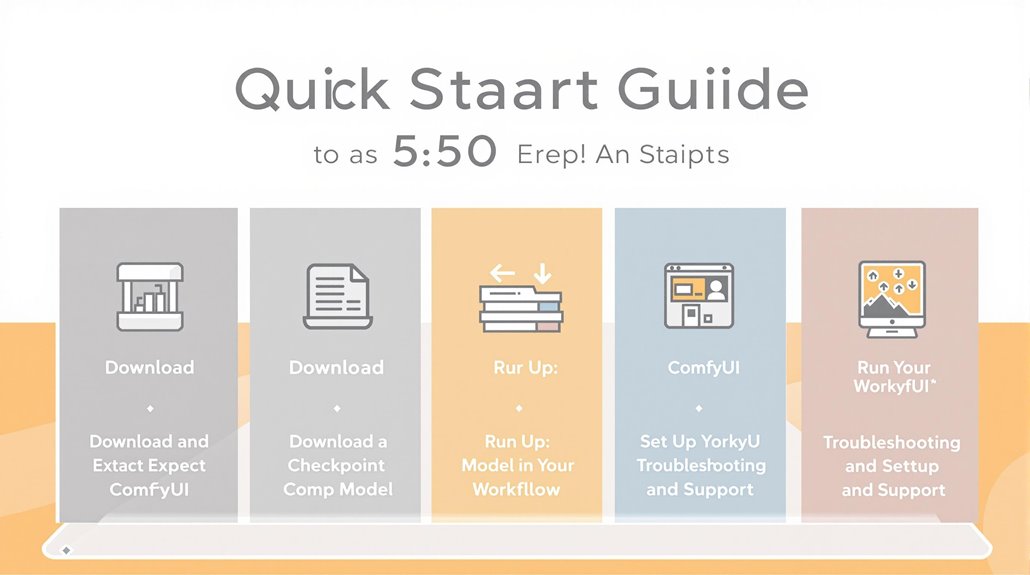
Quick Start Guide Steps for ComfyUI on Windows
Download ComfyUI: Download the standalone version of ComfyUI using a direct link and extract it with 7-Zip to your preferred location.
Download a Checkpoint Model: Place a downloaded checkpoint model, such as DreamShaper 8, in the models/checkpoints folder within ComfyUI.
Run ComfyUI: Start ComfyUI by double-clicking on run_nvidia_gpu.bat for NVIDIA GPU or run_cpu.bat for CPU. This launches ComfyUI in your default web browser. To ensure a smooth and efficient workflow, ComfyUI’s modular workflow design allows for creating custom workflows by connecting different components.
Set Up Your Workflow: In the ComfyUI interface, select a model, enter prompts, and generate images. Understanding these basic steps is vital for a smooth setup.
Troubleshooting and Support: For any issues, refer to the ComfyUI GitHub repository for updated installation instructions and seek community support from forums and discussion groups. Regular updates and custom node management ensure peak performance and access to new features.
Troubleshooting Tips
Refer to the official ComfyUI GitHub repository for the most current installation instructions.
The repository provides detailed steps tailored to your operating system.
Community Support
Engage with the ComfyUI community through forums and discussion groups for additional help.
Stay updated on new features and improvements.
Key Steps Summary
Download and Extract ComfyUI.
Download a Checkpoint Model.
Run ComfyUI.
Set Up Your Workflow.
Troubleshooting and Support.
Additional Resources
For detailed installation and usage guides, visit the official ComfyUI documentation.
Visit the GitHub repository as well.
Troubleshooting Common Issues
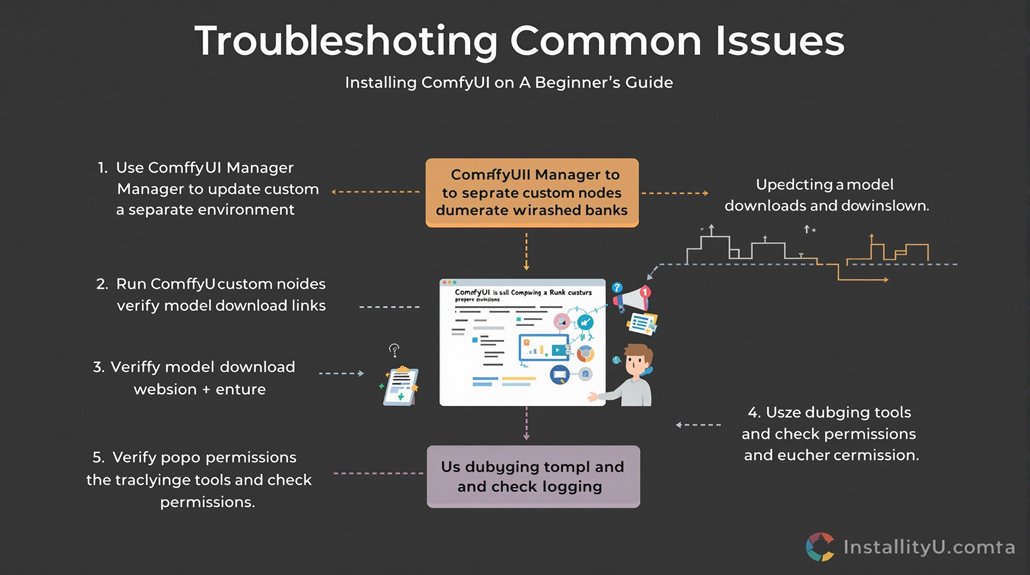
Troubleshooting Common Issues
For Node Conflicts and Errors, use the ComfyUI manager to update and reconcile custom nodes.
Running ComfyUI in a separate environment can help isolate issues, making it easier to identify and resolve specific problems.
To troubleshoot Model Download Issues, verify the model download link and ensure proper permissions are set. Compatibility checks are crucial.
When installing custom nodes, first clone the repository as instructed, beginning with navigating to the GitHub repository and using the ‘git clone’ command to copy it locally Repository Cloning Process.
If necessary, update the model path in the ‘config.js’ file. Use debugging tools and error logging to pinpoint specific errors and troubleshoot accordingly.
To minimize potential issues, it is essential to follow the Official Installation Guide for setting up ComfyUI on your system.
Key Troubleshooting Steps:
ComfyUI Manager: Use it to update custom nodes and resolve conflicts.
Separate Environment: Run ComfyUI to isolate issues.
Model Download Links: Verify their accuracy.
Permissions: Ensure they are correctly set.
Debugging Tools: Utilize them to identify specific errors.
Error Logging: Analyze logs to troubleshoot issues.
Optimizing Performance Settings
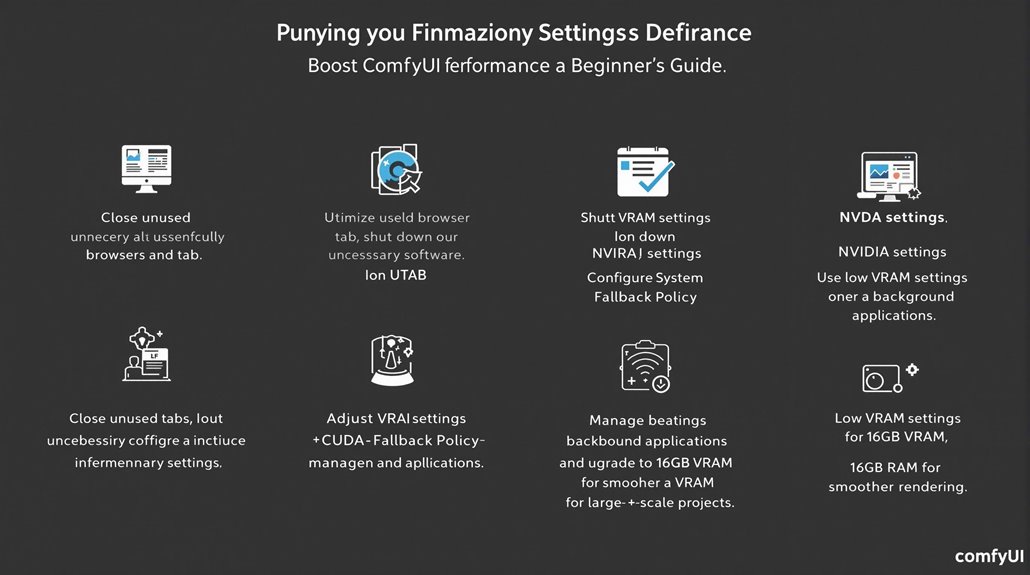
Optimizing Performance Settings in ComfyUI
Managing resources effectively is crucial for efficient operation of ComfyUI on Windows 10. Closing unused browsers and tabs can reduce GPU memory consumption, while extensions like OneTab help minimize resource competition.
Effective Resource Management
Close unused browsers and tabs to free up resources. OneTab can consolidate multiple tabs into a single window, reducing resource competition.
Shutting down unnecessary software like screen recording tools also improves system responsiveness. Utilizing the Advanced Sampler can further optimize performance by minimizing the number of steps in the base model while maintaining satisfactory results.
Adjusting VRAM Settings
ComfyUI’s performance can be optimized by adjusting VRAM settings based on system capabilities. Use the “low VRAM” setting for systems with limited graphics memory and enable the “high VRAM” setting for systems with powerful GPUs like the RTX 3090.
Configuring NVIDIA Settings
Changing the CUDA-System Fallback Policy to “Prefer No System Fallback” can prevent the system from using less efficient methods and reduce lag.
Matching system settings to hardware capabilities is critical for ideal performance.
Proper System Configuration
Ensuring system settings align with hardware capabilities is essential for optimal performance. This includes managing background applications. Installation of Comfy UI requires extracting files to a designated folder using tools like 7-Zip or WinRAR to avoid path length issues.
Optimizing system resources to prevent unnecessary slowdowns is also crucial.
Hardware Upgrades
For users with demanding tasks, upgrading to more powerful GPUs can significantly improve performance. Systems with at least 16GB of VRAM are recommended for smoother and faster rendering, especially when working with large-scale projects like SDXL.
Managing Custom Nodes
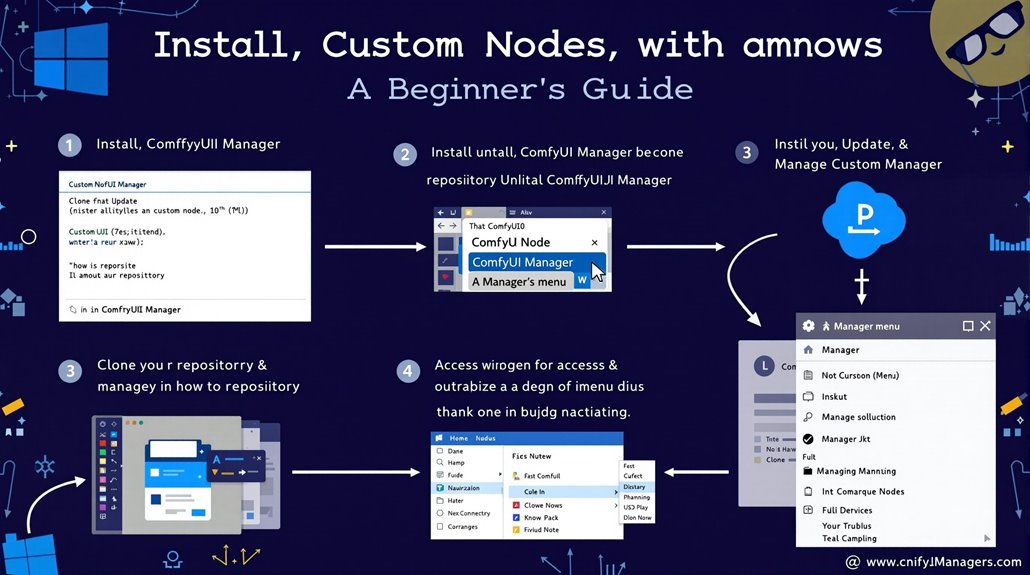
Managing Custom Nodes
Managing custom nodes in ComfyUI is crucial for maximizing the software’s capabilities. Custom nodes are fundamental to expanding ComfyUI’s functionality, and their installation is facilitated by the ComfyUI Manager.
To install custom nodes, navigate to the ‘ComfyUI/windows_portable/ComfyUI/custom_nodes’ directory and execute ‘git clone https://github.com/ltdrdata/ComfyUI-Manager’ in the command prompt. Restarting ComfyUI will display the new Manager button on the floating panel, enabling users to manage their custom nodes.
The Manager handles node dependencies by automatically installing ‘pip’ requirements listed in ‘requirements.txt’ within the node repository. This ensures smooth operations and efficient node management.
Users can use the Manager to search, install, and uninstall custom nodes, as well as update existing ones. It also identifies and installs missing nodes required for the current workflow. Effective node dependency management is critical for ensuring smooth operations. The Manager loads custom nodes by scanning the ‘custom_nodes’ directory for Python modules that export ‘NODE_CLASS_MAPPINGS’ node recognition mechanism.
The ComfyUI Manager streamlines the process of installing and managing custom nodes, making it more efficient for users. This tool is essential for anyone looking to expand the functionality of ComfyUI with custom nodes.
Users can install the ComfyUI Manager by cloning the repository into their custom nodes directory.
The Manager simplifies the installation and updating of custom nodes by providing a centralized tool for managing these extensions.
The ComfyUI Manager takes care of installing, updating, and removing custom nodes and their dependencies.
Once installed, the Manager can be accessed by restarting ComfyUI and opening the Manager menu.
From this menu, users can manage all their custom nodes and models efficiently.
The Manager also automates the installation of ‘pip’ requirements listed in ‘requirements.txt’, ensuring seamless integration of new nodes.
This feature makes it easy to use custom nodes and keep them up-to-date.
By using the ComfyUI Manager, users can ensure that their custom nodes are properly installed and updated, which is vital for smooth operations.
The Manager is a critical tool for managing custom nodes in ComfyUI, making it easier to integrate custom workflows.
The Manager’s ability to handle missing nodes is particularly useful for ensuring that workflows remain functional even when dependencies are not initially met.
Overall, the ComfyUI Manager is essential for anyone looking to leverage custom nodes in ComfyUI.
Its streamlined process and automated dependency management make it a must-have for efficient graph management.
The Manager ensures that users can focus on their workflows without worrying about the complexities of custom node installation and management.
This makes the ComfyUI Manager an indispensable tool for maximizing ComfyUI’s capabilities.
Key to its effectiveness is the Manager’s ability to search, install, update, and uninstall custom nodes seamlessly.
By using the ComfyUI Manager, users can ensure that their ComfyUI experience is enhanced by custom nodes without the hassle of manual installation and management.
This tool is fundamental to expanding ComfyUI’s functionality and ensuring smooth operations.
Notably, when using ComfyUI with Modal, the ComfyUI Manager does not work for downloading custom nodes due to filesystem limitations.
Generating Images With Comfyui

Initiating Image Generation in ComfyUI
To start generating images with ComfyUI, click “Queue Prompt” after setting up the workflow.
The KSampler node is crucial as it denoises a random image to align with the user’s prompt.
Customizing Image Generation
Users can control image size and generation by adjusting parameters such as height, width, and batch size.
This customization allows workflows to be tailored to specific needs.
ComfyUI’s node-based GUI simplifies the process by breaking down complex tasks into manageable components.
Real-time feedback enables users to fine-tune their image generation workflow by instantly seeing the effects of their adjustments Modular Workflow Design.