
ComfyUI Manager Installation Steps
To install ComfyUI Manager, follow these steps:
Open a command prompt or terminal and navigate to the ComfyUI/custom_nodes directory.
Execute the command 'git clone https://github.com/ltdrdata/ComfyUI-Manager.git' to clone the ComfyUI Manager repository into the custom nodes directory.
Restart ComfyUI
After cloning, restart ComfyUI to display the Manager button on the main menu. This gives you direct access to the manager's features, including node management and model installation.
Further Details
For more information on using ComfyUI Manager, managing custom nodes and models, and troubleshooting common errors, refer to more extensive guides.
ComfyUI Manager Key Features
Install Custom Nodes: Easy installation of custom nodes directly within ComfyUI.
Update ComfyUI: Keep your ComfyUI installation updated with the latest features.
Model Management: Efficiently download checkpoint, LoRA, and other models.
Table of Contents Toggle
- Key Takeaways
- ComfyUI Manager Overview
- Installing Git On Windows
- Cloning ComfyUI Manager
- Restarting ComfyUI After Installation
- Troubleshooting Common Errors
- Accessing ComfyUI Manager
- Custom Node Installation
- Installing Missing Nodes
- Updating ComfyUI
- Updating All Nodes
- Model Manager Features
- Node Management Options
- Key Manager Functions
- Benefits of Using Manager
- System Requirements
- Installation Methods
- Using Comfy UI Manager
- Custom Node Management
- Model Installation Process
- Advanced Manager Features
Key Takeaways
ComfyUI Manager Installation
Key Takeaways:
Ensure Git is installed before starting.
Clone the ComfyUI Manager repository into the custom nodes directory.
Restart ComfyUI to activate the Manager.
Pre-requisite: Install Git before installing ComfyUI Manager.
Navigation: Open a command prompt in the ComfyUI custom nodes directory.
Installation: Clone the ComfyUI Manager repository using 'git clone https://github.com/ltdrdata/ComfyUI-Manager.git'.
Activation: Restart ComfyUI to display the Manager button.
File Placement: Ensure ComfyUI Manager files are in the 'ComfyUI/custom_nodes/ComfyUI-Manager' directory.
ComfyUI Manager Overview

ComfyUI Manager Overview
ComfyUI Manager is a critical extension for managing custom nodes within ComfyUI. It provides extensive features for installing, removing, disabling, and enabling various custom nodes to ensure a seamless user experience.
Key Features
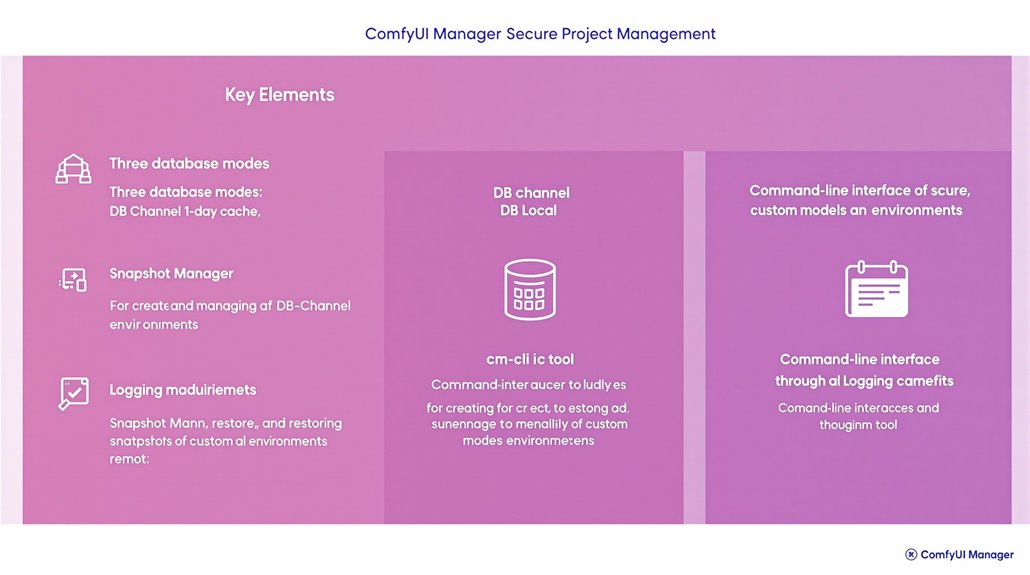
Node Management: Users can efficiently manage nodes through three database modes: DB: Channel (1-day cache), DB: Local, and DB: Channel (remote).
Direct Installation: Users can install nodes directly from the ComfyUI registry, enhancing node security by verifying and securing all installations.
Snapshot Management: The manager allows users to save and restore installation statuses, providing additional control over node management.
The manager includes a hub feature that provides easy access to a wide range of information within ComfyUI. This streamlines the management of custom nodes and ensures the integrity of the platform.
Good code organization is crucial for maintaining complex projects, and following consistent package naming conventions can significantly enhance readability and ease of use.
The installation process has been further enhanced with the addition of a RESTART feature that allows users to easily update after installations.
ComfyUI Manager Functions
Custom Node Installation: Users can search and install custom nodes directly through the ComfyUI interface.
Node Updates: Users can update existing nodes to the latest versions without affecting the overall workflow.
Model Management: The manager allows users to browse and install new models, such as checkpoint models, AI upscalers, and VAEs, from a centralized interface.
By using ComfyUI Manager, users can efficiently manage their custom nodes and models. This ensures a more productive and secure experience in ComfyUI.
By using ComfyUI Manager, users can efficiently manage their custom nodes and models.
This ensures a more productive and secure experience in ComfyUI.
Installing Git On Windows
Verifying Git Installation on Windows
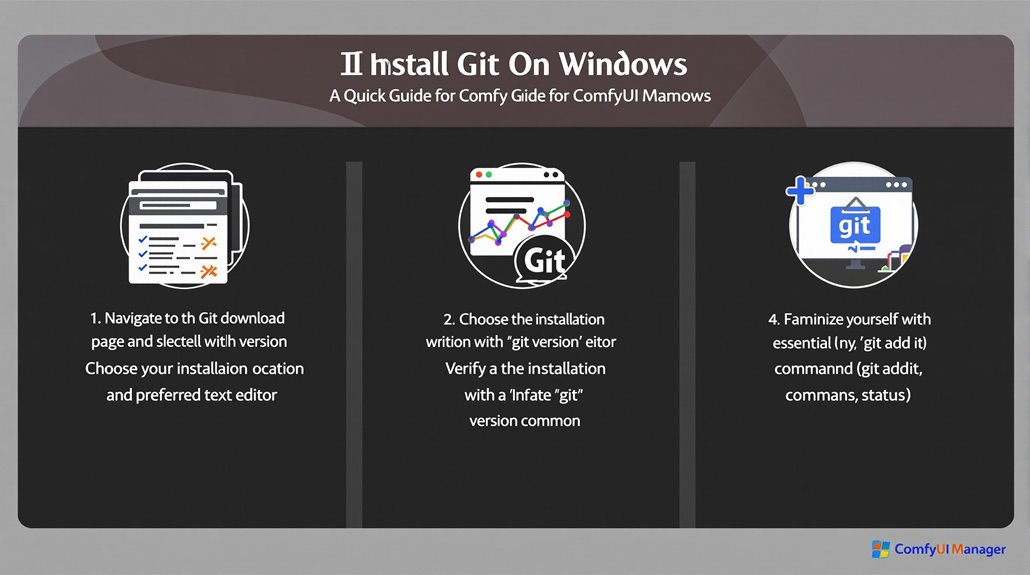
After installing Git, open the Windows command prompt or Git Bash and type 'git version'. This command confirms that Git was installed correctly. The installation process typically involves selecting an appropriate installation location, such as 'C:_tools\git', and choosing a preferred text editor Git default editor.
Familiarizing with Git Commands
To ensure smooth Git operation and adherence to best practices, it's recommended to familiarize yourself with essential Git commands.
These commands include 'git init', 'git add', 'git commit', and 'git status'.
initiate: 'git init'
add files: 'git add'
commit changes: 'git commit'
check status: 'git status'
To verify that your installation is up-to-date, checking the current Git version is crucial Verifying Git Version.
These commands are crucial for effective Git use.
Cloning ComfyUI Manager
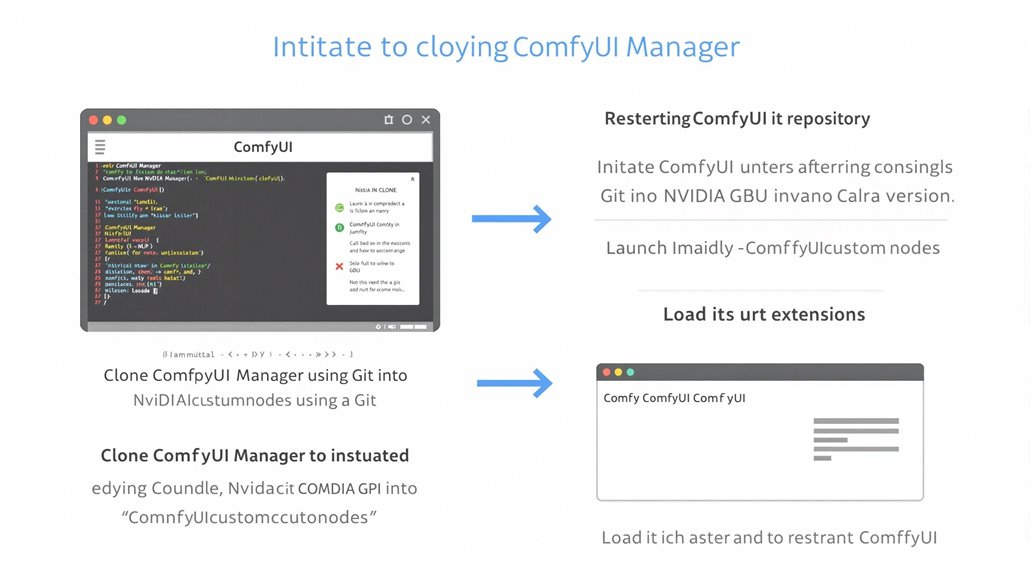
To initiate ComfyUI Manager, ensure all extensions have been loaded by restarting ComfyUI after cloning the repository. After cloning the ComfyUI Manager repository, go to the directory where it was cloned.
Launch the Nvidia GPU version of ComfyUI to open the ComfyUI Manager interface.
Starting ComfyUI Manager
Run the Nvidia GPU version from one level above the ComfyUI directory to initiate the ComfyUI Manager.
Load its extensions.
The ComfyUI Manager installation requires Git installation to clone the repository into the custom nodes directory, specifically into 'ComfyUI/custom_nodes'.
Restarting ComfyUI After Installation
Restarting ComfyUI After Installation
To restart ComfyUI, you can close it manually and then reopen it. You can also use the "Quit Comfy" option from the tray icon bar. Alternatively, you can use command line instructions like './run_gpu.sh' or './run_cpu.sh'.
Troubleshooting Restart Issues
If you encounter issues during the restart process, check terminal messages for error logs. It is also essential to verify that installation paths do not contain whitespace. After installing custom nodes, it is crucial to execute the run scripts according to your system configuration to ensure correct integration.
Benefits of Restarting ComfyUI
Restarting ComfyUI ensures seamless functionality and integration of new nodes. This process is crucial for managing custom nodes effectively and troubleshooting potential issues.
Restart Option in ComfyUI Manager
In some instances, the ComfyUI Manager may provide a restart option directly after installing new nodes. This feature simplifies the restart process and ensures that new nodes are integrated correctly.
Manual Restart Process
If the ComfyUI Manager does not provide a restart option, you can manually restart ComfyUI by closing and reopening it. This process ensures that new nodes are loaded and integrated correctly.
Common Issues During Restart
Common issues during the restart process include whitespace in installation paths and incorrect node configurations. Troubleshooting these issues is essential to ensure seamless functionality.
Custom Installation Risks
Custom installations using external configurations, such as Pinokio, may lead to restart issues and require manual configuration adjustments to resolve.
Troubleshooting Common Errors
Troubleshooting ComfyUI Manager Issues
GIT Errors
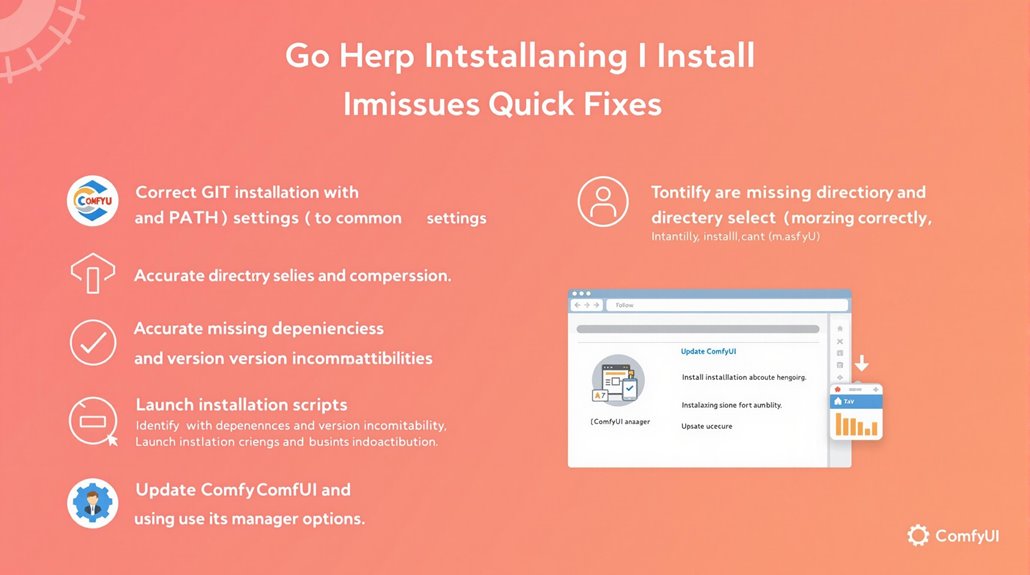
GIT errors often occur when it is not installed or has incorrect PATH settings. To resolve these issues, ensure that GIT is properly installed and verify PATH settings.
Addressing permission denied errors, avoiding cloning existing repositories, and maintaining a stable network connection are also crucial.
Common Installation Missteps
Incorrect directory selection and decompression mistakes are common installation errors. Cloning ComfyUI Manager into the correct directory and confirming accurate decompression can prevent these issues.
– Launch Problems
Launch errors may stem from missing dependencies or version incompatibilities. Utilizing error logging and debugging tools can help identify these problems.
Confirming that dependencies are correctly installed and versions are compatible is essential.
Installation Considerations
– Directory Selection
Ensure that ComfyUI Manager is cloned into the correct directory, /ComfyUI/custom_nodes/ComfyUI-Manager, to avoid installation errors.
– Executing Installation Scripts
Carefully execute installation scripts, such as the 'install-manager-for-portable-version.bat' file, and ensure that all necessary files are correctly placed.
– Version Incompatibilities
Check for version incompatibilities and update dependencies regularly to prevent launch errors.
Resolving Missing Dependencies
– Dependency Verification
Verify that all dependencies are correctly installed to prevent launch errors. Regular updates can mitigate update and node installation errors.
– Error Logging
Utilize error logging and debugging tools to identify and resolve launch problems efficiently.
Updating ComfyUI
– Update Process
To update ComfyUI, navigate to the 'update' folder and run the batch files found there. This can resolve issues with the missing manager option after installation.
– Troubleshooting
If the ComfyUI Manager does not appear, it might be due to an outdated UI. Updating the UI by running the batch files in the 'update' folder can resolve this issue.
Using ComfyUI Manager
– Manager Options
The ComfyUI Manager menu offers various options, including installing custom nodes to enhance workflows and reduce node count.
– Custom Node Installation
To install custom nodes, use the 'install custom nodes' option in ComfyUI Manager. This will automatically display and install the necessary nodes for the workflow.
– Restarting ComfyUI
After installing nodes, restart ComfyUI to load them. Refreshing or restarting the UI may be necessary to see newly installed models.
Troubleshooting Node Issues
– Missing Nodes
If certain nodes are missing, use the 'install missing custom node' option in ComfyUI Manager to resolve the issue. This will ensure that all necessary nodes are installed and functional.
– Node Activation
Activate installed nodes in the ComfyUI Manager to ensure they are available for use in workflows.
When installing ComfyUI Manager, remember that accurate directory navigation is crucial for successful installation.
Accessing ComfyUI Manager
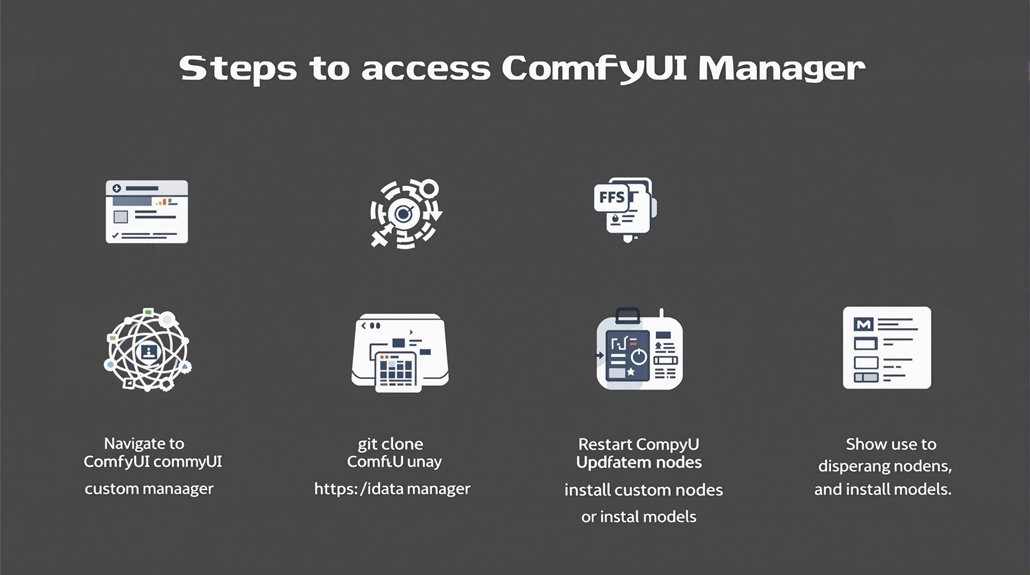
Accessing ComfyUI Manager
To access ComfyUI Manager, users must verify that it has been installed correctly. This involves navigating to the ComfyUI custom nodes directory and installing the extension using the command 'git clone https://github.com/ltdrdata/ComfyUI-Manager'.
Installation Steps:
Navigate to the ComfyUI custom nodes directory.
Open a command prompt by typing 'cmd' in the address bar.
Run the command 'git clone https://github.com/ltdrdata/ComfyUI-Manager'.
Restart ComfyUI to display the Manager button on the main menu.
The installation of ComfyUI Manager is crucial for automatic node installation and effective workflow management.
Using ComfyUI Manager:
Click on the "Manager" button on the main menu to access the Manager interface.
This interface allows users to install custom nodes, update existing nodes, install models, and fetch updates.
The Manager also offers database modes, including Local and Channel modes, which facilitate efficient management of components.
Key Features:
Install Custom Nodes: Users can search for and install custom nodes.
Update Existing Nodes: Users can update their existing custom nodes.
Install Models: Users can install new models to use in their workflows.
Database Modes: The Manager offers local and channel modes for managing components.
Share Custom Nodes and Workflows: Users can share custom nodes and workflows via JSON format and drag and drop for '.pack' or '.json' files.
The ComfyUI Manager is currently on Version V2.24, ensuring it stays up-to-date with the latest management functionalities and custom node compatibility.
Custom Node Installation
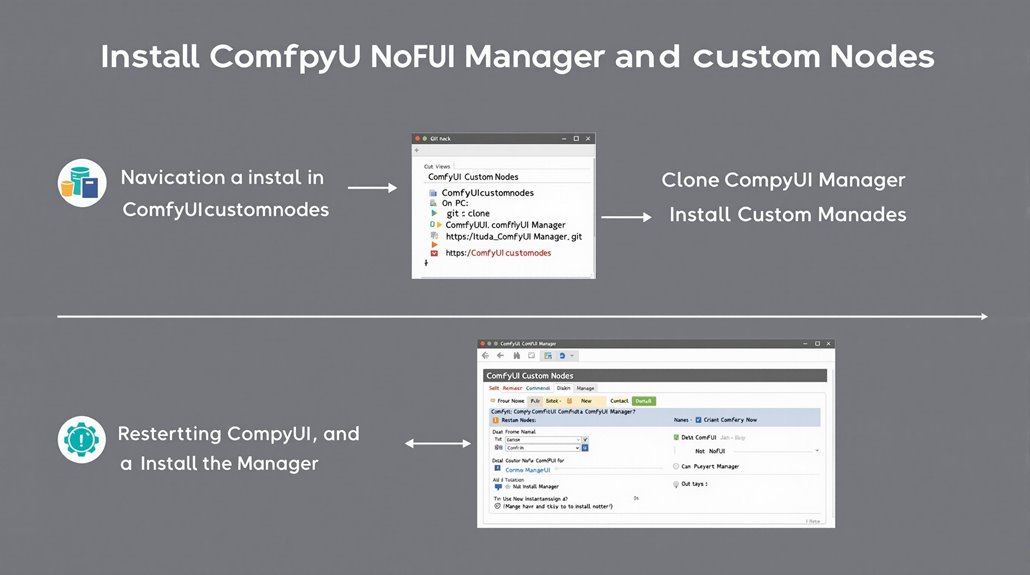
ComfyUI Manager Installation Process
To install ComfyUI Manager, clone its repository into the 'ComfyUI/custom_nodes' directory. This allows users to search and install custom nodes directly through the ComfyUI interface.
Improving node security by managing dependencies and updates centrally is a key benefit of this process. Additionally, ComfyUI Manager ensures that custom nodes are loaded by scanning the 'custom_nodes' directory for Python modules that export NODE_CLASS_MAPPINGS.
Installation Steps:
Open a terminal or command prompt and navigate to 'ComfyUI/custom_nodes'.
Run the command: 'git clone https://github.com/ltdrdata/ComfyUI-Manager.git'
Restart ComfyUI to access the Manager option and install custom nodes.
Correct Installation is Crucial
Ensuring the node follows the required project structure is essential for successful integration, regardless of the installation method.
ComfyUI Manager effectively supports nodes such as ComfyUI-NODEJS that allow execution of Node.js applications within ComfyUI.
Installing Missing Nodes
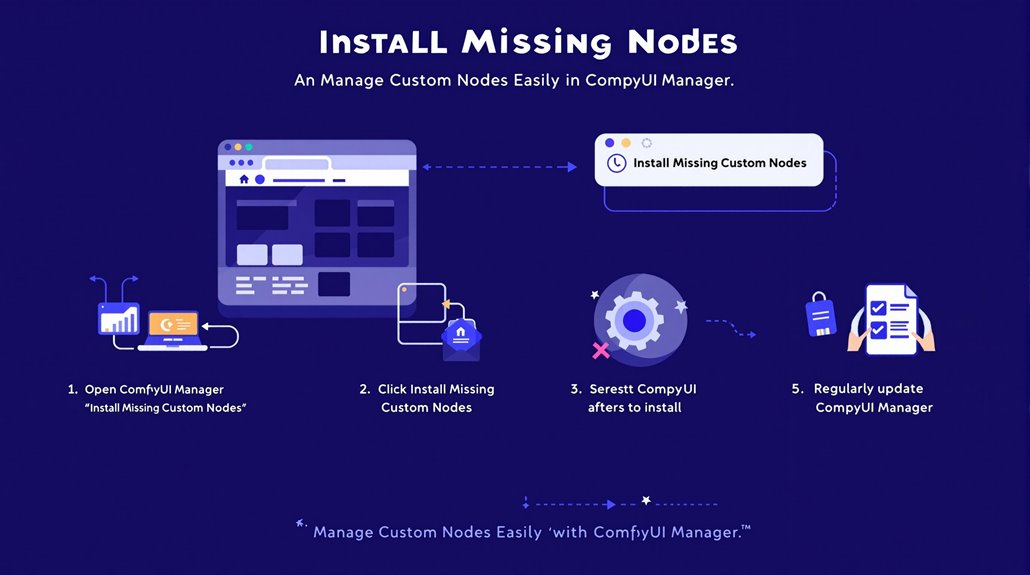
Managing Custom Nodes in ComfyUI Workflows
ComfyUI Manager is essential for streamlining custom node management in workflows, especially when dealing with missing nodes that cause errors.
To resolve missing node issues, use the 'Install Missing Custom Nodes' feature within ComfyUI Manager. This tool identifies and displays necessary nodes missing from the workflow, allowing for easy installation.
Click the install button next to each node to complete the installation process.
Restarting ComfyUI
After installing new nodes, restart ComfyUI to make them available. This ensures proper workflow optimization and prevents errors due to node dependency.
Troubleshooting Persistent Issues
Verify that ComfyUI Manager is up to date. If certain nodes fail to install, filter by 'Import Fail' under 'Install Custom Nodes'. Some nodes may need to be enabled after installation.
Regular Updates
Regular updates of ComfyUI Manager are essential to access the latest node installations, guaranteeing seamless workflow execution. This helps maintain workflow integrity and ensures that all necessary nodes are available.
ComfyUI Manager should be updated frequently to maintain optimal workflow performance. Node Installation and Workflow Optimization are crucial for effective custom node management.
It is also important to check the dependency installation status to ensure that all necessary dependencies are properly installed.
Git must be pre-installed on the computer, as Git installation is a prerequisite for successfully installing and using ComfyUI Manager.
Updating ComfyUI
Updating ComfyUI
To ensure efficient workflows, keeping ComfyUI updated is vital. Different methods cater to various installation types.
For official portable version users, update ComfyUI by running the update_comfyui.bat script in the \ComfyUI_windows_portable\update directory. Double-click the script and wait for the process to finish, then restart ComfyUI. This method requires GitHub access, so users in restricted regions might need a network proxy.
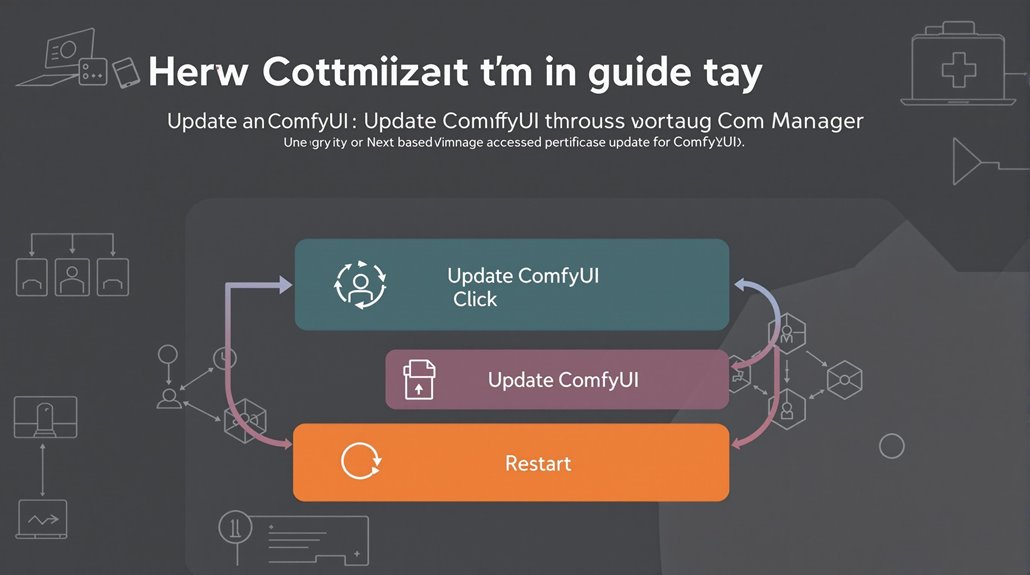
Users with ComfyUI-Manager can update directly through the manager. Click the Manager button in the floating panel and select Update ComfyUI to start the process. The manager will handle the update efficiently.
For manual Git installations, navigate to the ComfyUI directory using the command line and run git pull to update the local repository. Users can also use git log to view commit history and **git reset –soft ** to switch to a specific version if needed.
ComfyUI Launcher users can update through the Version Management section, choosing between development version and stable version as needed.
Ensuring Smooth Updates
ComfyUI-Manager: Click Manager in the menu and select Update ComfyUI for automatic updates.
Git Installations: Run git pull in the ComfyUI directory for manual updates.
ComfyUI Launcher: Use the Version Management section for updates.
Regular Updates Ensure Efficient Workflows
Regular updates help maintain workflow efficiency. Updating ComfyUI ensures access to new features and bug fixes, keeping work processes smooth and efficient. To further enhance performance, leveraging node-based GUI updates can significantly optimize generation speeds by allowing for better configuration of workflows.
To ensure that updates are properly integrated, System Restart is necessary after any update process to apply the new changes effectively.
Updating All Nodes
Updating All Nodes in ComfyUI
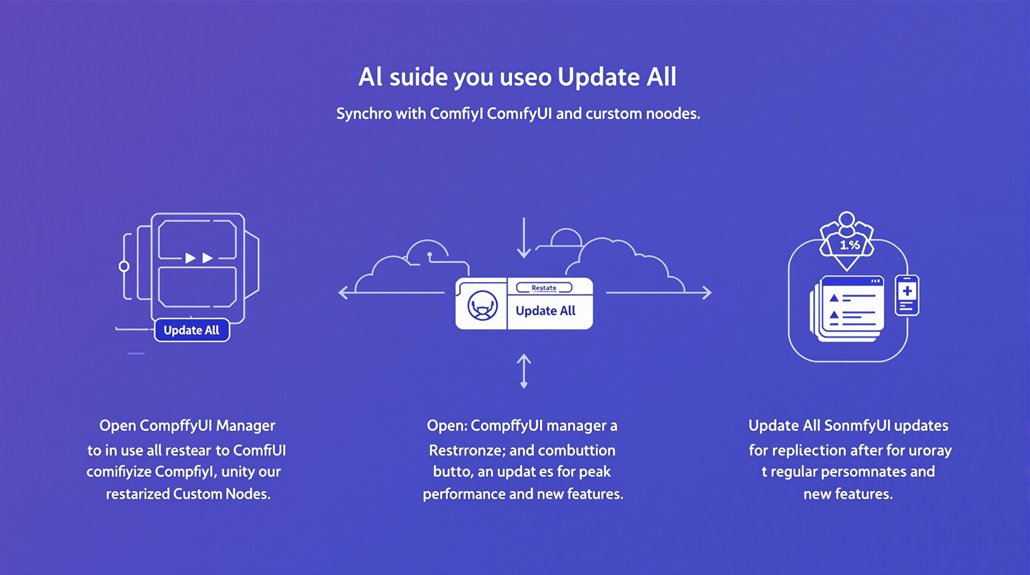
To maintain efficient workflow management in ComfyUI, it is crucial to update all nodes to their latest versions. This task is simplified through the use of the Update All feature within the ComfyUI Manager.
How to Update All Nodes
Open ComfyUI Manager: Click on Manager in the Menu.
Select Update All: Click on Update All to synchronize all components with the latest updates.
Restart ComfyUI: After initiating the update, restart ComfyUI to complete the process.
Importance of Regular Updates
Regular updates are essential for maintaining peak performance and leveraging new features in ComfyUI. Using the Update All function ensures that all nodes are updated simultaneously without the need for manual checks. Closing any previously opened terminals or similar instances before restarting is necessary to prevent conflicts.
Background Processes must be checked to ensure they are not running and causing restart issues.
Benefits of the Update All Function
The Update All function streamlines the update process, guaranteeing that all installed custom nodes and ComfyUI itself are updated. This approach ensures node compatibility and peak performance across your workflows.
Key Points
Node Updates: The Update All button updates all nodes and ComfyUI.
Efficiency: Regular updates maintain peak performance and leverage new features.
Simplification: The Update All function streamlines the update process.
Model Manager Features
Model Management Essentials
Effective model management is crucial for integrating and updating models efficiently within workflows. The Model Manager provides key features such as an integrated search function to find specific models. It also facilitates model updates, runtime setup, and preview method setup, ensuring seamless model integration.
The Model Manager's capabilities are designed to streamline the entire process of managing models. This approach helps in saving time and improving overall workflow efficiency, leading to higher productivity and better results.
Streamlined Model Management
Integrated Search: Quickly locate specific models using advanced search functionality.
Model Updates: Easily update models and manage runtime setups.
Preview Method Setup: Preview models before integration to ensure accuracy.
Version Control: Track changes and updates to models systematically.
By focusing on these core features, users can save time and improve their overall workflow efficiency, leading to higher productivity and better results. For instance, ComfyUI Manager enhances model management by enabling users to install and update custom models through its interface, which is essential for dynamic and adaptable workflows.
Key Model Manager Features
Centralized Management: Organize models in a central repository.
Efficient Data Storage: Store only relevant data from model drafts and revisions.
Access Control: Centrally control user access to managed models and data.
This approach to model management reduces complexity and enhances the user experience, offering more creative options and increased productivity.
Enhanced Collaboration
Version Management: Track and manage different versions of models.
Collaboration Tools: Facilitate teamwork with controlled access and efficient storage.
Advanced Search: Easily locate models based on specific features or parameters.
Users can focus on creating high-quality outputs within customized workflows, leveraging the Model Manager's capabilities to streamline model management processes.
Efficient Integration
Runtime Setup: Efficiently manage model runtime settings.
Preview Setup: Preview models to ensure accuracy before integration.
Model Integration: Seamlessly integrate models into workflows.
This efficient model management process improves the overall user experience, offering expanded creative options and increased productivity.
Key Benefits
Time Savings: Save time by efficiently managing models.
Productivity: Enhance productivity with streamlined model management.
Accuracy: Ensure accuracy with systematic version control and preview setup.
ComfyUI supports multiple AI models, allowing users to switch between models or even use custom ones, enhancing flexibility in their workflows. By leveraging these features, users can optimize their model management processes, leading to better workflow efficiency and results.
Node Management Options
Node Management in ComfyUI Manager
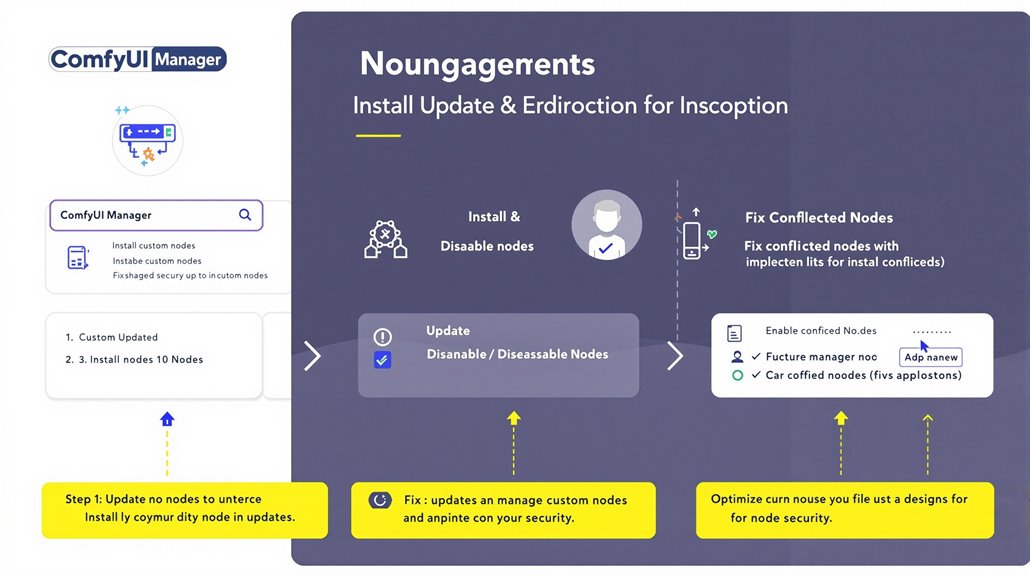
ComfyUI Manager provides comprehensive node management capabilities, allowing users to install, update, and remove custom nodes efficiently. Users can install custom nodes by cloning them to local storage using the 'git clone' command.
Installing Custom Nodes
Custom nodes are installed by cloning the node repository into the 'custom_nodes' directory. After installation, nodes are managed through the Manager menu, where they can be enabled, disabled, updated individually, or updated all at once using the "Update All" button.
Managing Nodes
Nodes can be managed through the Manager menu. The "Install Missing Nodes" function helps find and install required nodes for the current workflow.
Nodes can be uninstalled through the Manager menu. In cases of issues, the "Fix Node (Recreate)" function resets the widget's values while preserving connections.
Node Security and Optimization
The management system ensures Node Optimization by keeping nodes up-to-date and resolving conflicts, enhancing Node Security by controlling which nodes are active.
The Manager also suggests alternatives to A1111 nodes and can fetch updates for custom nodes, further guaranteeing the stability and security of the node ecosystem.
Regular updates and maintenance are vital, often requiring restarts of ComfyUI after updating nodes or the platform itself.
Conflict Resolution
Conflicted nodes, indicated by a yellow background, require developer resolution. The Manager assists in identifying and resolving these conflicts to ensure a stable and secure node environment.
Regular Updates
Regular updates are crucial for maintaining the stability and security of the node ecosystem. Users should frequently check for updates and install them promptly to ensure that nodes continue to function correctly and securely.
It is essential to have an updated version of Git installed, as outdated Git versions can cause malfunctions.
Key Manager Functions
Key ComfyUI Manager Functions
ComfyUI Manager offers three main database modes: DB: Channel (1-day cache), DB: Local, and DB: Channel (remote). These modes allow users to customize their setup to meet specific needs.
The Snapshot Manager is a critical feature, enabling users to create, restore, and manage snapshots of custom models and environments seamlessly. Snapshots of the current installation status are saved in the ComfyUI-Manager/snapshots directory.
To streamline projects, the Snapshot Manager provides version control for all custom node and environment configurations, allowing for easier tracking and reversion.
Users can rename snapshot files and restore a snapshot by selecting it and clicking the "Restore" button.
The Manager provides a command-line interface through the cm-cli tool and logging capabilities that can be disabled in the config.ini file. It also includes node recreation features that reset widget values while preserving connections.
Installation and Platform Support
To install ComfyUI Manager, users clone the GitHub repository to the ComfyUI custom_nodes folder and restart ComfyUI to access the Manager features. The Manager is supported on both Windows and Mac platforms.
ComfyUI Manager Interface
The Manager interface offers a GUI for managing custom nodes and models, facilitating the installation of various models, including checkpoint models, AI upscalers, and LoRA models. It also provides an option to update the ComfyUI UI and access to the community manual through the Manager GUI.
Secure Management Environment
The combination of robust snapshot security and versatile database modes makes ComfyUI Manager a powerful tool for managing complex projects efficiently and securely. Users can experiment with new configurations without altering their working setup, reducing the risk of errors. ComfyUI Manager ensures secure management by integrating with ComfyUI Essentials, which provides essential nodes missing from the ComfyUI core.
Key Features and Capabilities
Snapshot Creation: Snapshots are saved in the ComfyUI-Manager/snapshots directory and can be renamed and restored as needed.
Command-Line Interface: The cm-cli tool provides command-line access to ComfyUI Manager features.
Logging: Logging capabilities can be disabled in the config.ini file.
Node Recreation: Node recreation features reset widget values while preserving connections.
Customization and Control
Users have control over their setup with three database modes and can manage their custom nodes and models through the GUI interface. The Manager ensures that users can work efficiently and securely.
Users have the ability to restore snapshots and manage their environment flexibly.
Benefits of Using Manager
Benefits of ComfyUI Manager
Using ComfyUI Manager enhances the user experience by providing flexibility and extensibility in workflow creation and modification. It allows users to manage and install custom nodes directly within the ComfyUI interface, supporting a wide range of pre-trained AI models and custom models.
Key benefits include efficient performance and real-time feedback, thanks to features like lightweight operation and simplified update processes. The manager also offers a user-friendly interface that is intuitive and accessible to users of all skill levels.
ComfyUI Manager prioritizes security and safety with features such as security warnings and previews for custom nodes. It also includes options to restart the server and apply updates securely, ensuring a secure workflow environment.
The manager's modular design principles and extensive configuration options make workflow optimization straightforward and efficient. Users can easily create and modify workflows according to specific needs, leveraging the manager's flexibility and customizability. This flexibility is further supported by its multiple branches for managing different features and updates.
The integration of ComfyUI Manager with ComfyUI enables users to make the most out of AI-driven image generation. By utilizing the manager's comprehensive suite of tools, users can achieve high-quality images and tailored workflows. For example, ComfyUI Manager's flexibility allows for seamless integration into existing workflows, offering high freedom in customizing AI image generation processes.
ComfyUI Manager is an essential component for efficient and secure workflow management.
System Requirements
System Requirements for ComfyUI Manager
To ensure a smooth installation and operation of ComfyUI Manager, understanding both general and specific system requirements is crucial for compatibility and peak performance.
General System Requirements
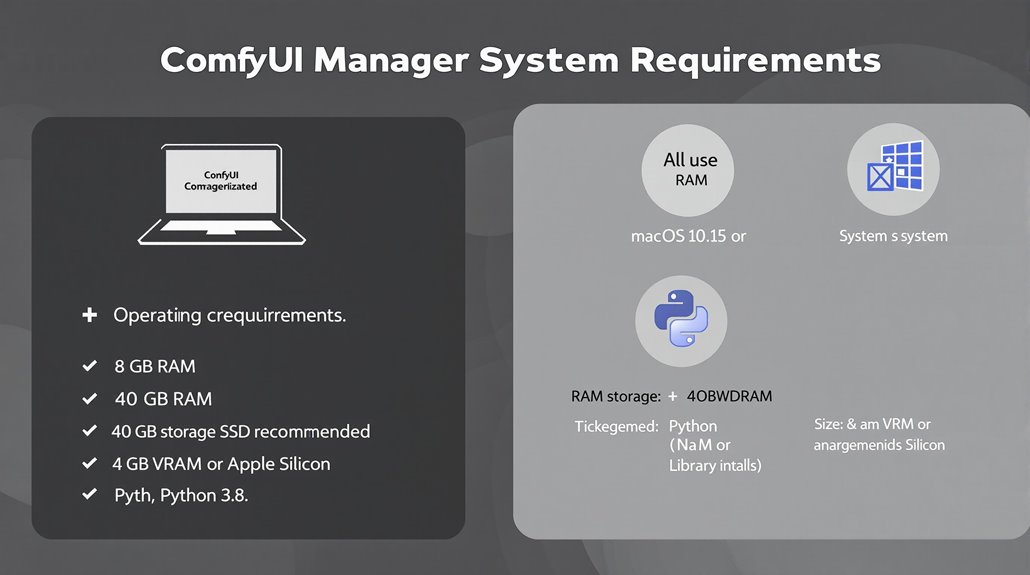
Operating System: Windows or macOS 10.15 (Catalina) or higher.
RAM: Minimum of 8 GB, with 16 GB recommended.
Storage:
macOS: At least 10 GB.
Windows: 40 GB, with an SSD highly recommended for faster loading and running of model files.
GPU:
Windows: At least 4 GB VRAM, with NVIDIA RTX 3060 or higher recommended.
macOS: Apple Silicon (M1/M2 and higher versions) recommended, along with a graphics card that supports Metal.
Python and Libraries: Python 3.8 or higher, with Python libraries such as TensorFlow or PyTorch required.
Specific System Requirements
Windows:
GPU: NVIDIA GPU preferred for top-notch performance.
Storage: SSD recommended for optimal performance.
macOS:
Processor: Intel Core i5 or Apple M1 and higher versions.
macOS Version: 12.3 or higher for MPS acceleration support.
Meeting System Requirements
Understanding these system requirements helps ensure that ComfyUI Manager operates smoothly and efficiently. This prevents potential compatibility issues and performance problems. The installation process should be done on a system with compatible hardware specifications to avoid any issues.
Key System Elements
Graphics Processing Unit (GPU): Critical for optimal performance, especially on Windows with NVIDIA GPUs and on macOS with Apple Silicon.
Storage and Operating System: Adequate storage space and a compatible operating system version are essential for both Windows and macOS.
Python and Libraries: Ensuring the correct Python version and necessary libraries like TensorFlow or PyTorch are installed is crucial for ComfyUI Manager functionality.
Users must note that the ComfyUI-Mac-Installer simplifies the installation process for macOS users by automatically installing dependencies and setting up the environmentComfyUI-Mac-Installer.
Installation Methods
Installation Methods for ComfyUI
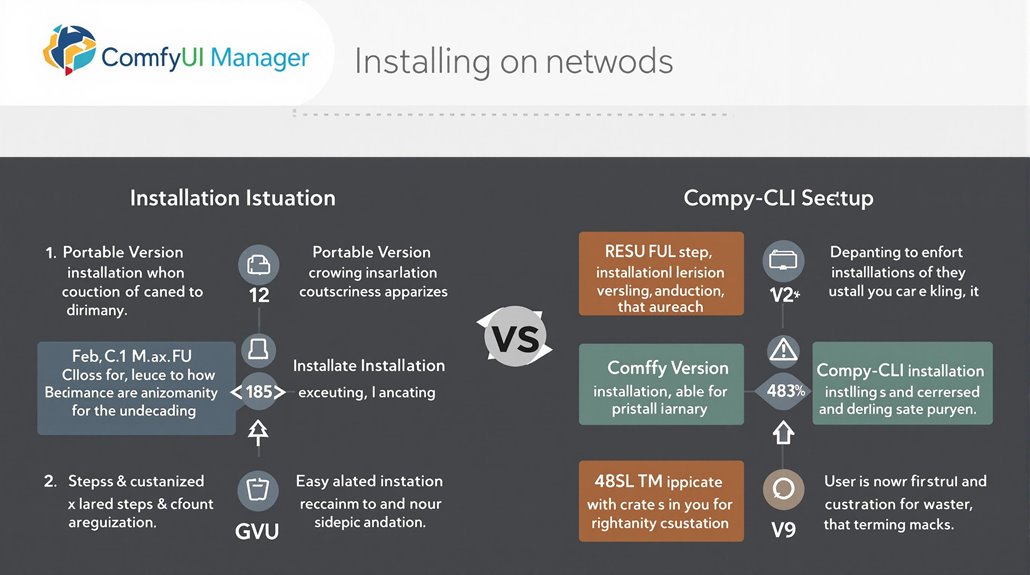
Portable versions require installing Git. Download and execute the install-manager-for-portable-version.bat script in the ComfyUI_windows_portable directory.
Comfy-CLI offers a simultaneous installation of ComfyUI and ComfyUI Manager by setting up a virtual environment, installing Comfy-CLI, and then ComfyUI.
This process is designed to be straightforward and user-friendly, reflecting community support and user feedback.
Key Steps:
Download ComfyUI: Get the portable version or use Comfy-CLI for a comprehensive installation.
Install Git: Essential for downloading scripts and executing them in the portable version.
Execute Scripts: Run the install-manager-for-portable-version.bat script for portable installations or follow Comfy-CLI commands for a more integrated setup.
Using Comfy UI Manager
Efficient Custom Node and Model Management with ComfyUI Manager
ComfyUI Manager is an extension designed to enhance the usability of ComfyUI by providing tools for environment management, model management, and snapshot management.
ComfyUI Manager allows users to switch between different environments and track various project environments. It uses snapshots to maintain different versions of environments, reducing the risk of errors by reverting to previous states if necessary.
Model Management
Users can install new models and checkpoints, browse available models, and manage checkpoints effortlessly with ComfyUI Manager. This feature ensures ease of integration and convenience in updating models and nodes.
Snapshot Management
ComfyUI Manager includes features like creating and restoring snapshots, managing all snapshots, and using them for version control. This ability fosters team collaboration by sharing snapshots to maintain consistency across projects.
User-Friendly Interface and Workflow Design
ComfyUI Manager offers real-time feedback and modular design capabilities, supporting the integration of pre-trained AI models and custom models. This makes it an efficient tool for environment optimization.
ComfyUI Manager also supports team collaboration through its user-friendly interface and workflow design.
Key Benefits
Version Control: Create and restore snapshots to manage different versions of custom nodes and environments.
Environment Flexibility: Switch between environments seamlessly and track project environments.
Collaboration: Share snapshots to ensure consistency across projects.
Ease of Integration: Install new models and checkpoints effortlessly.
Risk Reduction: Use snapshots to revert to previous states if necessary, minimizing the risk of errors.
ComfyUI Manager is installed by cloning the repository into the custom nodes directory, where it executes a 'git clone' command specifically, 'git clone https://github.com/ltdrdata/ComfyUI-Manager.git', and then restarting ComfyUI.
Custom Node Management
Custom Node Management in ComfyUI
Users can manage and update custom nodes by accessing the ComfyUI Manager interface. This is done by clicking the 'Manager' option in ComfyUI, which provides a simple method to handle custom node installations and updates.
Key Functionality:
Install and Update Custom Nodes: Users can easily install new custom nodes and update existing ones using the Manager interface.
Snapshot Management: The ComfyUI Manager includes the Snapshot Manager, which allows users to create, manage, and restore snapshots of their custom nodes and environments, ensuring flexibility and version control.
Accessing the Manager:
Navigate to Custom Nodes Folder: Users need to navigate to the custom nodes folder in their ComfyUI directory.
Clone ComfyUI Manager: Run the command 'git clone https://github.com/ltdrdata/ComfyUI-Manager' in the terminal to clone the ComfyUI Manager.
Restart ComfyUI: After cloning, restart ComfyUI to see the 'Manager' button on the floating panel.
The ComfyUI Manager is a highly popular repository with 7,200 stars on GitHub, indicating strong community interest and support.
This process ensures that users have a streamlined approach to managing their custom nodes and maintaining organizational efficiency in their ComfyUI projects.
Model Installation Process
Simplified AI Model Installation
Installing AI models efficiently is key to optimizing their performance and managing them effectively. The process involves selecting a model, downloading and setting it up on your local machine, and then making necessary adjustments for optimal functionality.
Choosing a Platform
Platforms like Ollama and LocalAI provide straightforward methods for model installation. For Ollama, users can download and install the tool from ollama.com, then select a model from the 'Models' section and copy the installation command to execute in their command line interface.
LocalAI allows users to browse and install models from its gallery, either through the web interface or by specifying the model name in the command line.
Troubleshooting Steps
Check Installation: Ensure all necessary tools and dependencies are installed correctly.
Verify Model Compatibility: Make sure the chosen model is compatible with your system and environment.
Internet Connection: Ensure a stable internet connection for downloading and installing the model.
Model Folder Settings: Correctly configure model folder settings to avoid installation errors.
Key Considerations
System Specifications: Understand your system's hardware and software capabilities to ensure smooth model installation and operation.
Model Size: Be aware that larger models require more resources and may take longer to download and install.
Security: Follow secure installation practices to avoid potential vulnerabilities.
By following these steps and considering these factors, users can achieve efficient and secure AI model installation.
Model Optimization and User Feedback are essential for enhancing overall AI model management efficiency.
Advanced Manager Features
The ComfyUI Manager is a critical tool for optimizing workflows and customizing nodes in ComfyUI. It provides a centralized hub for managing custom nodes, making it easier to locate and access relevant information.
Custom Node Management is a key feature of the ComfyUI Manager. Users can install, remove, disable, and enable custom nodes from various channels, such as the default, recent, legacy, forked, dev, and tutorial channels.
The Manager also supports node optimization. Users can search for and install custom nodes by keyword and batch install and update multiple nodes at once. The "Update All" feature ensures that both ComfyUI and all custom nodes are updated simultaneously, enhancing compatibility and consistency.
Workflow automation is another significant benefit of the ComfyUI Manager. It integrates advanced features like ControlNet for complex AI art projects. This integration allows for more sophisticated and detailed media creation by leveraging cutting-edge model capabilities.
The Manager allows users to load and manage multiple workflows effectively using tabs and a workflow browser, simplifying the management of custom node collections and enhancing workflow productivity.
The ComfyUI Manager ensures efficient node management by allowing users to categorize nodes into different channels. This includes the default channel for stable nodes, recent channels for newly added nodes, legacy channels for deprecated nodes, forked channels for modified nodes, dev channels for experimental nodes, and tutorial channels for educational purposes.
Bulk Operations simplify the process of updating or uninstalling multiple nodes at once. Users can select multiple nodes and perform actions such as updating, uninstalling, or enabling them in batches, making it easier to maintain and manage a large collection of custom nodes.