
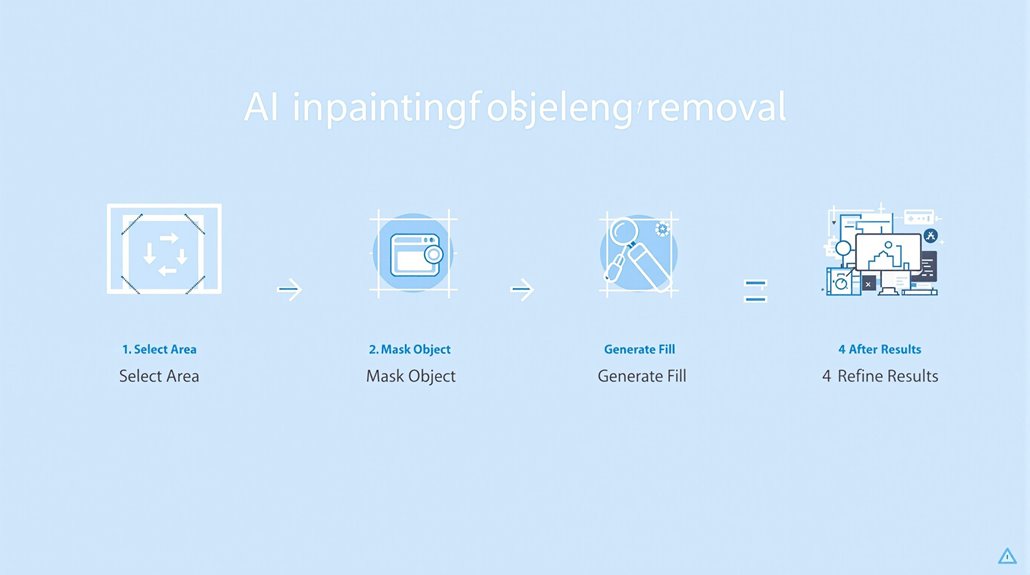
Object removal with inpainting tools requires precise steps for natural-looking results. Import your high-resolution image into software options like Adobe Photoshop or DALL-E 3.
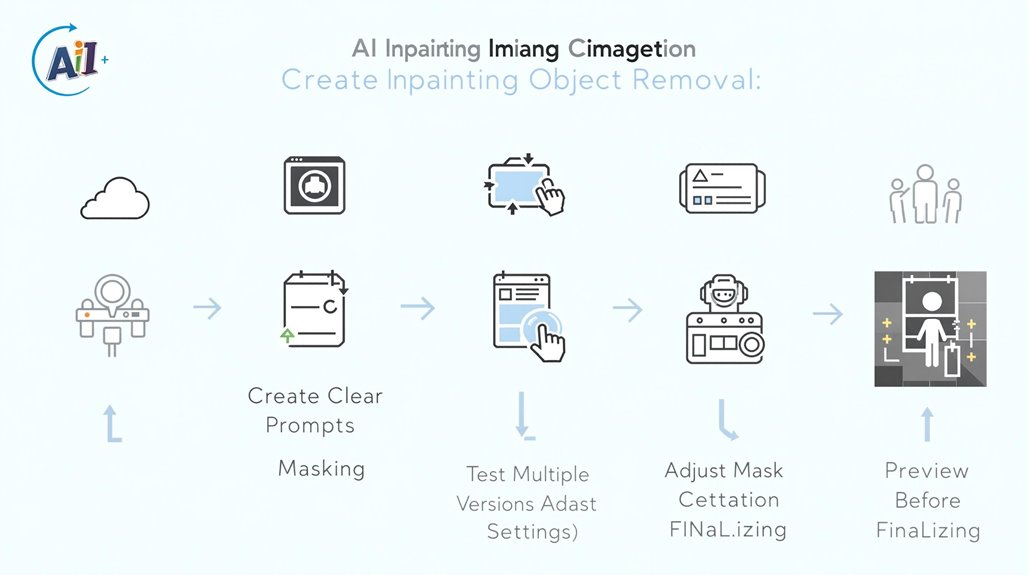
Create a clean mask around your target object using selection tools or automatic masking features. The more accurate your mask, the better the final results will be.
Set your removal parameters carefully – this includes denoising strength and sampling iterations. Clean edges and smooth transitions make edits appear more natural.
Give specific directions through text prompts that describe the area you want to replace. Better prompts lead to more accurate reconstructions of the missing parts.
Process the image with proper batch settings, then check the results carefully. Multiple gentle passes often work better than one aggressive edit for maintaining image consistency.
Table of Contents Toggle
- Key Takeaways
- Understanding AI Inpainting Basics
- Required Tools and Software
- Preparing Your Image
- Creating the Inpaint Mask
- Setting Denoising Parameters
- Matching Colors and Textures
- Generating Effective Prompts
- Executing the Removal Process
- Refining the Final Result
Key Takeaways
How to Remove Objects Using **Photo** Editing Tools
Open photo editor and select mask tool around unwanted object.
Paint over selected area to mark removal boundaries.
Apply changes and refine blending settings for natural results.
Understanding AI Inpainting Basics
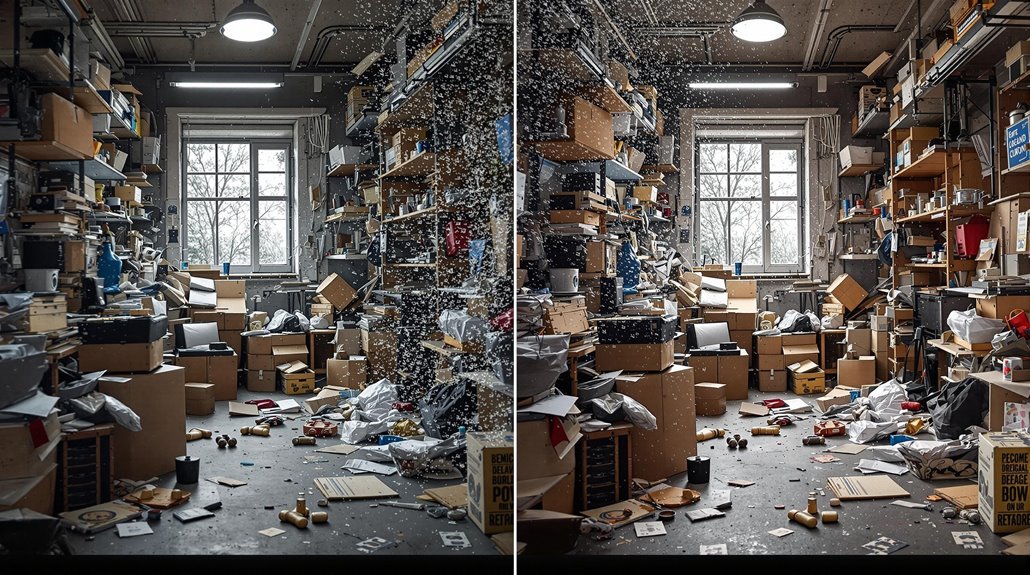
Inpainting uses artificial intelligence to fix or modify images by filling in missing or unwanted areas. The technology examines nearby pixels to create natural-looking repairs that match the original image's style and structure. High-quality results are consistently achieved when removing unwanted objects or enhancing damaged sections.
The technical process relies on neural networks trained with millions of images to recognize and replicate visual elements. These systems analyze the areas around masked sections to create matching content, though they work best with simple patterns rather than complex details. The versatile technology can repair old photographs that have deteriorated over time.
Professional photographers, architects, and art conservators use image** restoration** tools daily. The basic steps include marking the areas to change, describing the desired result, and adjusting settings like noise reduction to improve the final image. Success depends on choosing the right models and settings that help the system create appropriate new content.
Required Tools and Software
Adobe Photoshop and PhotoDirector stand out as leading applications for image restoration and object removal. These programs offer comprehensive content-aware fill features and maintain image quality across various file formats.
Specialized platforms such as Midjourney and Dream Studio use advanced neural networks for image processing. Both tools maintain high-resolution outputs and support complex image manipulation tasks through their automated processing systems. Users can zoom in for details when working on intricate areas that require precise editing.
Basic inpainting operations can be performed using free tools like Pincel and Classace Inpaint Image Generator. NVIDIA Image Inpainting uses GPU power for faster processing, while Deep Art focuses on creative applications. The right tool choice depends on specific project requirements and hardware capabilities. MyEdit delivers exceptional precision handling when working with complex textures and patterns.
Each application brings distinct advantages in image restoration, making tool selection vital based on individual project needs. Most modern inpainting software supports standard image formats and includes brush controls for precise edits.
The effectiveness of these tools varies based on system specifications and intended use. Professional projects often benefit from paid solutions, while casual users may find free options sufficient for basic image correction needs.
Preparing Your Image
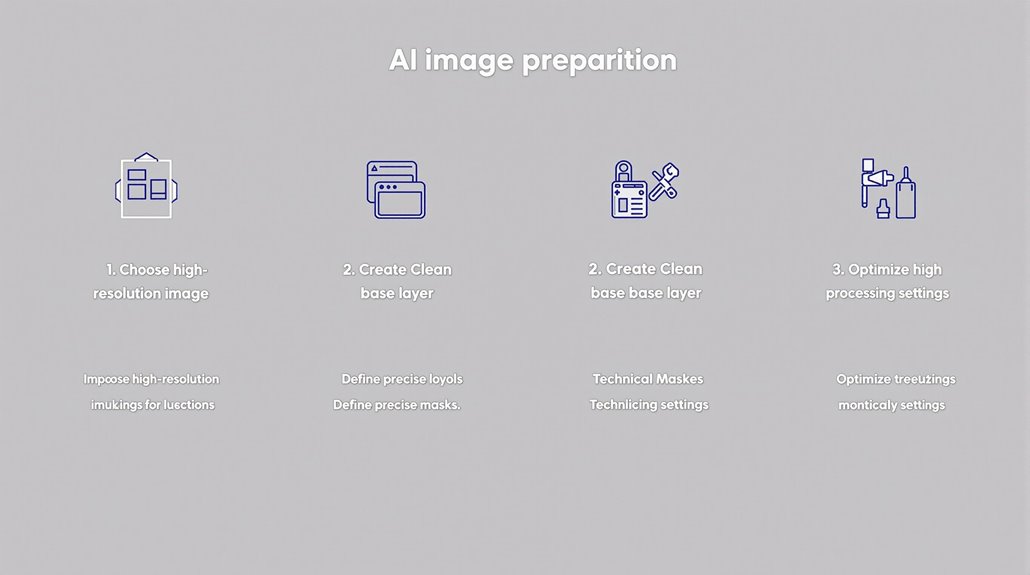
High-quality resolution and clear details directly affect the success of photo editing outcomes. Choose images with sharp features and adequate pixel density that work well with your editing software. Create an initial new raster layer when importing your image to maintain editing flexibility. Proper data preparation techniques help ensure optimal results during the inpainting process.
Clean Image Setup
Remove visual problems and adjust basic settings like brightness and contrast to define object edges clearly. Multiple editing layers help separate different parts of the image for better control during modifications.
Mask Creation
Creating precise masks helps define specific areas for editing. Pay attention to preserving edges and sample colors from nearby areas to blend changes naturally with the original image.
Technical Settings
Configure your editing tools to process both small details and larger image elements. Select appropriate editing modes and settings based on your specific project needs to create natural-looking results.
Creating the Inpaint Mask
Creating an Inpaint Mask starts with marking specific areas for editing. The mask works like a map where white sections show where changes will occur, while black areas stay untouched.
Making masks can be done by hand or through computer vision tools. Models such as SAM help create exact selections by detecting object edges and shapes based on visual patterns. White pixels indicate the areas that will be modified during the inpainting process. Gradient information helps create smooth transitions between edited and unedited areas.
Users can perfect their masks through boundary adjustments and edge refinement. Moving the mask to a Regional Guidance Layer helps direct the editing process, making object removal look more natural.
The control points around the mask let users hide, disable, or move elements as needed. Careful preparation of the mask area leads to better results during the editing process, resulting in realistic-looking changes to the image.
Setting Denoising Parameters
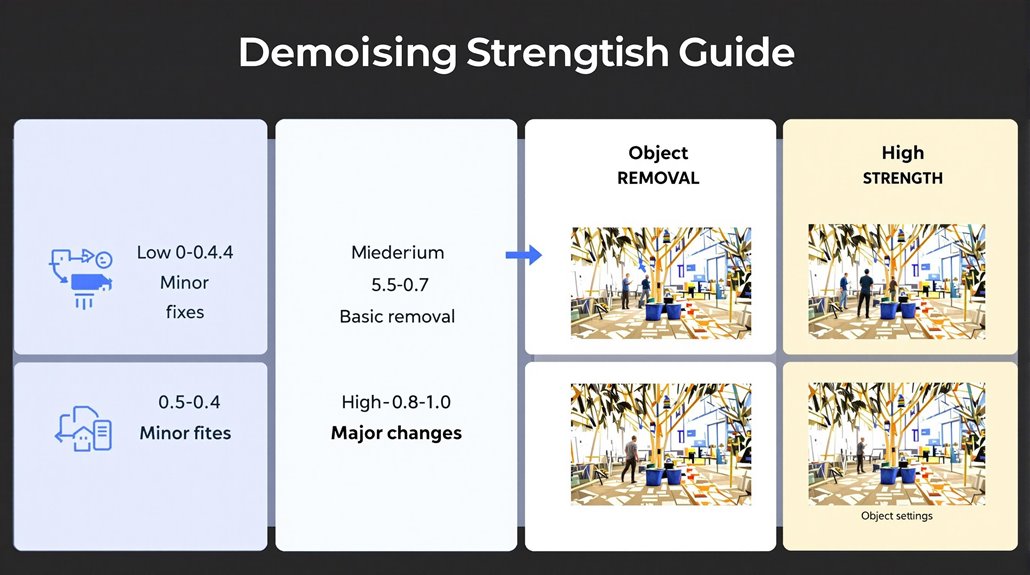
The denoising strength directly affects how much your modified image differs from the source material. Starting with 0.75 provides a balanced foundation, allowing you to make precise adjustments until reaching optimal results. Zero denoising strength will leave your input image completely unchanged. Manual painting in photo editing software can help prepare difficult areas for inpainting.
Small image corrections work best with lower strength values under 0.75, maintaining original image elements. More substantial changes require higher values to properly blend new content. The sampling steps parameter works alongside denoising – increasing steps helps smooth out noise patterns.
Using "Original" for masked content creates reliable outputs. Make small adjustments while watching how changes affect the final image. This systematic process produces natural-looking results that maintain visual quality throughout modified areas.
Matching Colors and Textures
Color and Texture Matching Essentials
The foundation of high-quality inpainting starts with precise color sampling from neighboring areas. Start by using a color picker to gather accurate color values, then create custom blends matching the surrounding image sections. Apply these colors strategically within the target area. Denoising strength adjustments help maintain natural color transitions during the blending process. Brush size control is crucial for achieving precise edge details during color application.
Surface characteristics require special attention through dedicated guidance layers. The process works best by focusing on small sections rather than attempting large areas at once. This targeted method helps maintain natural-looking results across the edited region.
Color refinement often involves multiple passes to build realistic results. Sample adjacent areas thoroughly, then gradually introduce textures while maintaining consistency with existing image elements. Regular checks against the original image ensure proper integration of new elements.
Generating Effective Prompts
Creating clear AI prompts forms the basis for successful image editing operations. A structured approach using reference and query prompts helps users specify exact parameters for object changes in their images.
Direct instructions work best for prompt creation. Use simple descriptions that match what you see in the image and what you want to achieve. Virtual try-on technology enables realistic previews of edited images before finalizing changes. The adjustment factor settings can help fine-tune mask sizes for optimal results. The focus stays on practical guidance for accurate masking and natural image fill results.
Tools like Grounded SAM and FLUX Fill Pro make prompts work better through improved object detection and image completion. Test different versions of your prompts and adjust the wording based on results. Complex edits may need combined prompts that include details about the image surroundings.
Executing the Removal Process
Creating Object Removal Masks
Start by making a precise mask for the area you want to remove. Choose between the Brush Tool or Rectangle Tool to mark the object's edges carefully. Good mask edges help maintain the surrounding image quality. The process builds on Stable Diffusion V1.5 for reliable mask-based removal.
Parameter Setup
Set the technical values: batch size and 20 sampling steps using Euler a method. Apply 0.75 denoising strength for best results. Pick the right mask content start point from options like latent noise, latent nothing, original, or fill based on what surrounds your target area.
Quality Check and Refinement
Review each removal attempt for quality and natural appearance. Check for odd spots or unnatural areas in the result. Make mask adjustments or change denoising levels if needed. Use CLIP tools to confirm complete object removal while keeping the image looking natural. Repeat these steps until the end result matches the original image's style.
Refining the Final Result
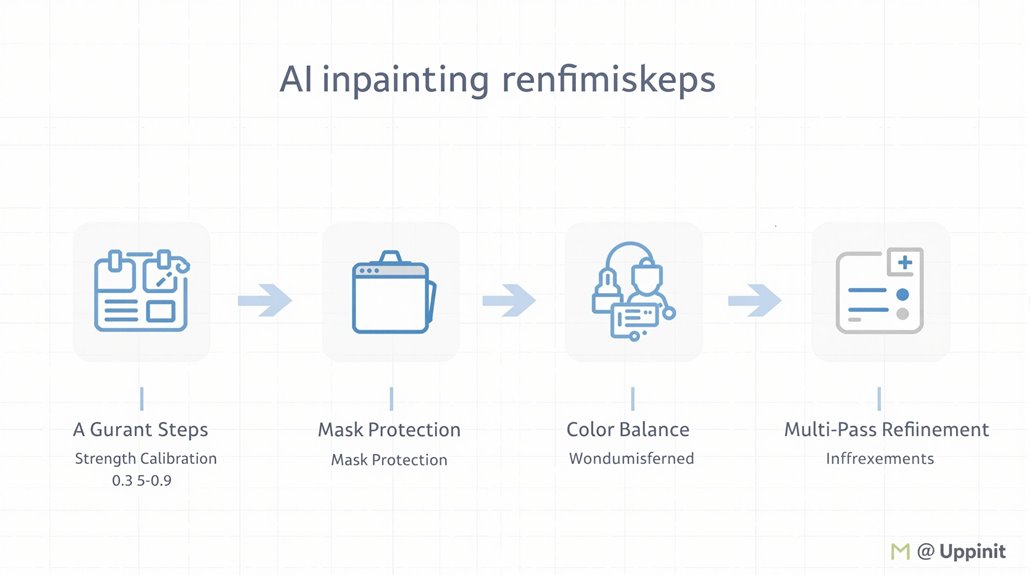
Image Refinement and Detail Work
Adjusting the settings for optimal output starts with precise strength calibration ranging from 0.8-0.9 for major changes to 0.3-0.5 for minor touches. These calibrations create natural transitions between modified and original sections of the image. The image-to-image approach provides valuable reference points for maintaining consistency across edits. Leveraging the separate refinement model in SDXL 1.0 significantly enhances the visual fidelity of edited regions.
Tools like control nets and masks protect important structural elements during the editing process. Careful mask dilation with specific kernel sizes helps create natural transitions between original and altered sections of images.
Color management focuses on balancing pure whites, blacks, and grays within the composition. Sampling colors from nearby areas creates consistent visual flow throughout the edited sections.
Multiple editing passes target different image elements, with close attention to detail in specific areas. Systematic adjustments to settings, masks, and colors produce realistic results that maintain the original image quality.